
Hi there, today I will show you how to draw a nose from the side. It is an easy process and I will show you the step by step process of drawing. But if you want to draw a nose from the front then click here
So here we start the tutorial
Material you need :
- Smooth Paper
- HB Pencil
- Eraser
- blending tools
- Flat surface to draw
Here is the step by step process
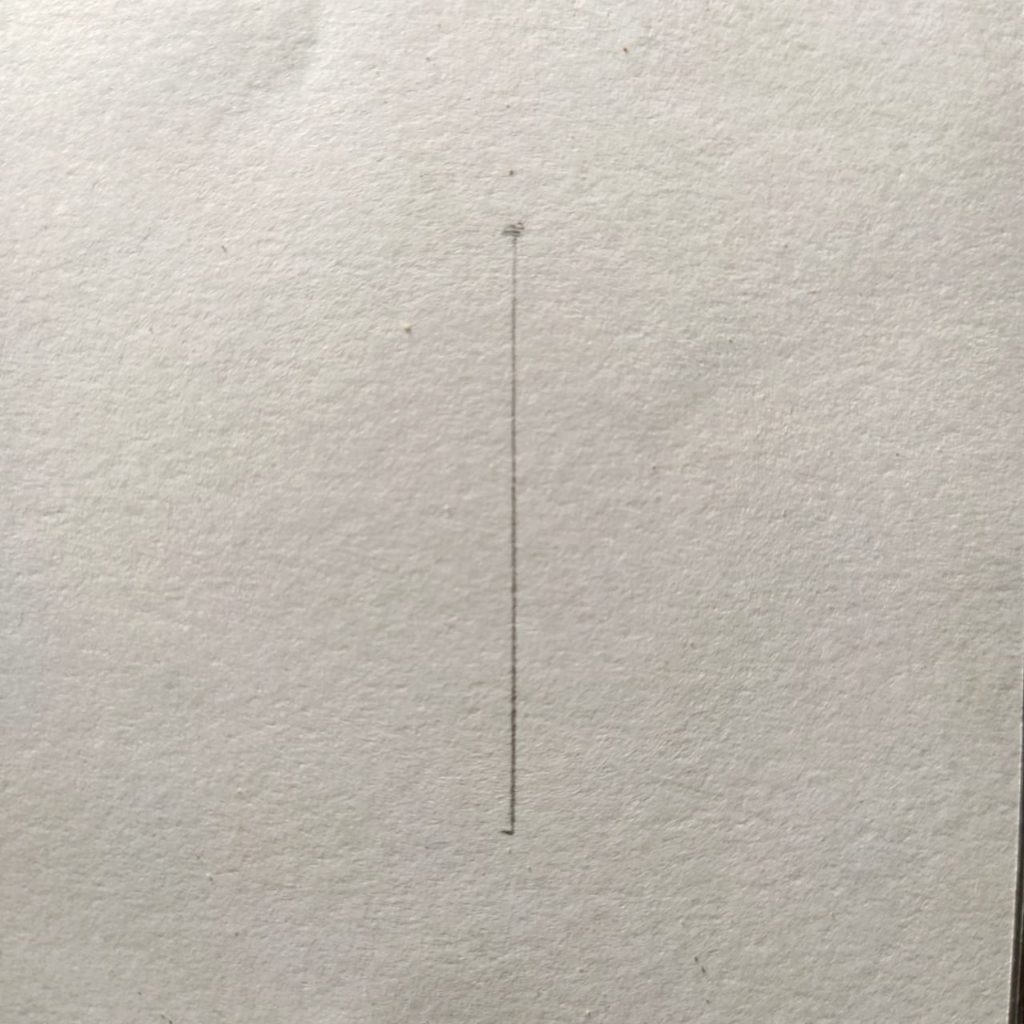
Step 1- Draw a straight line
Draw a straight vertical line according to the nose size you want to draw. draw it very lightly because it is guide line for the nose and if draw it lightly then it is very easy to erase.
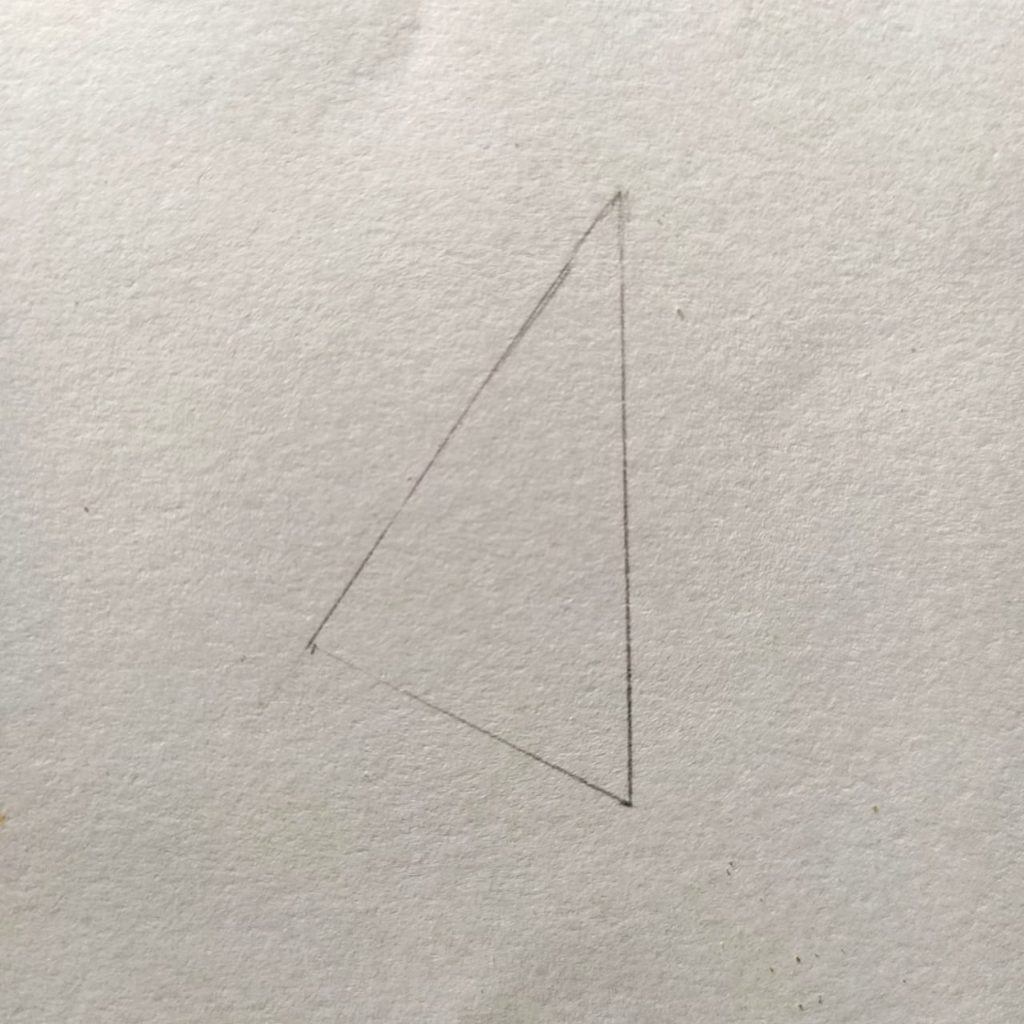
Step 2- Draw a triangle shape
Draw a triangle shape by using the straight line draw. Draw it acoording to the nose shape you want to draw
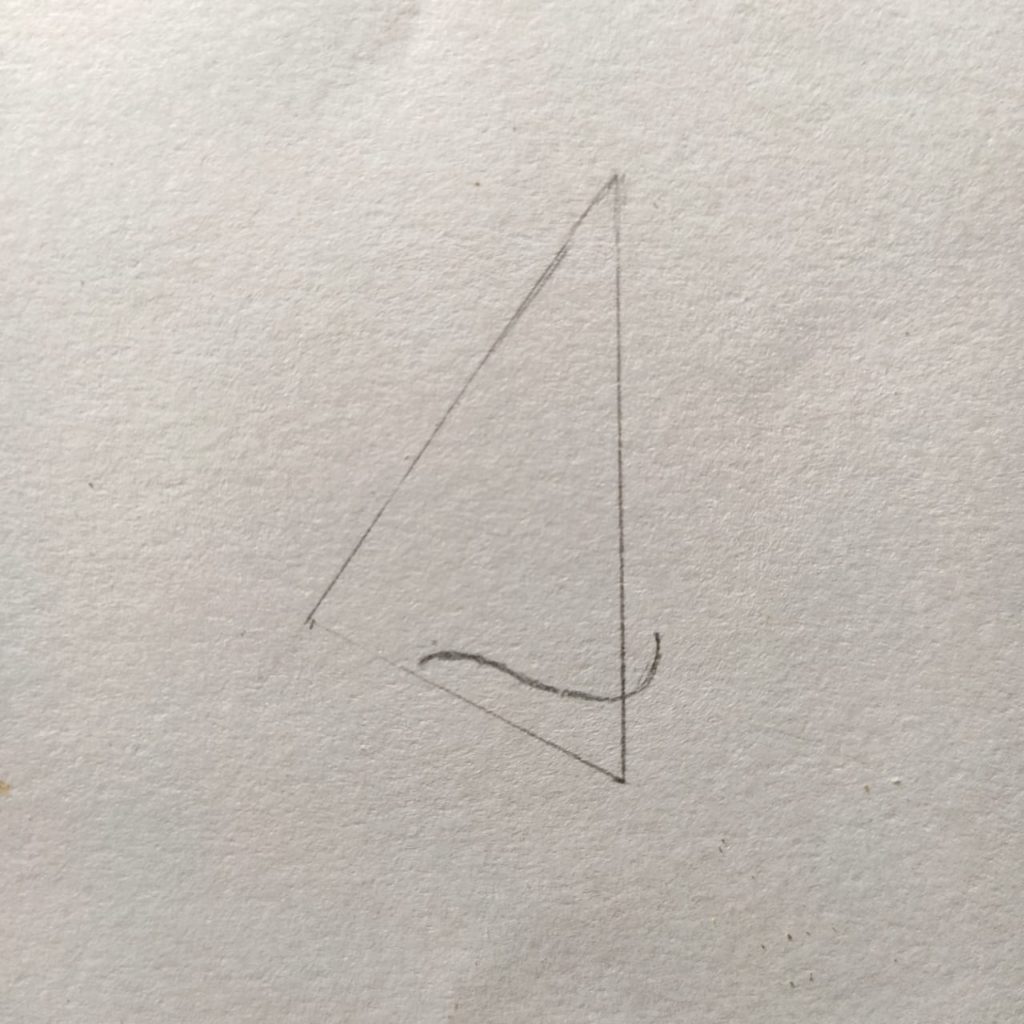
Step 3- Draw the nostril
Draw the shape of the nostril by lower side ( base side) of the triangle as shown in figure.
Step 4- Draw the bridge
Draw the bridge of nose as shown in figure and the basic shape of your drawing is ready.
Step 5- Start the shading
Now erase all the guide lines and start shading the nose. Start with a light pencil.
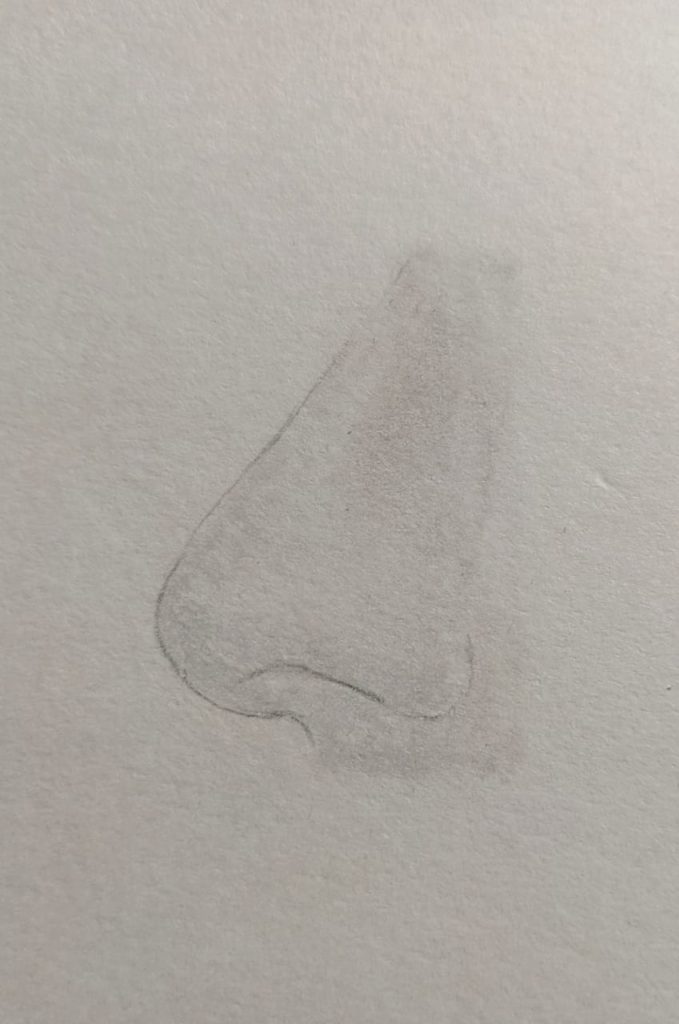
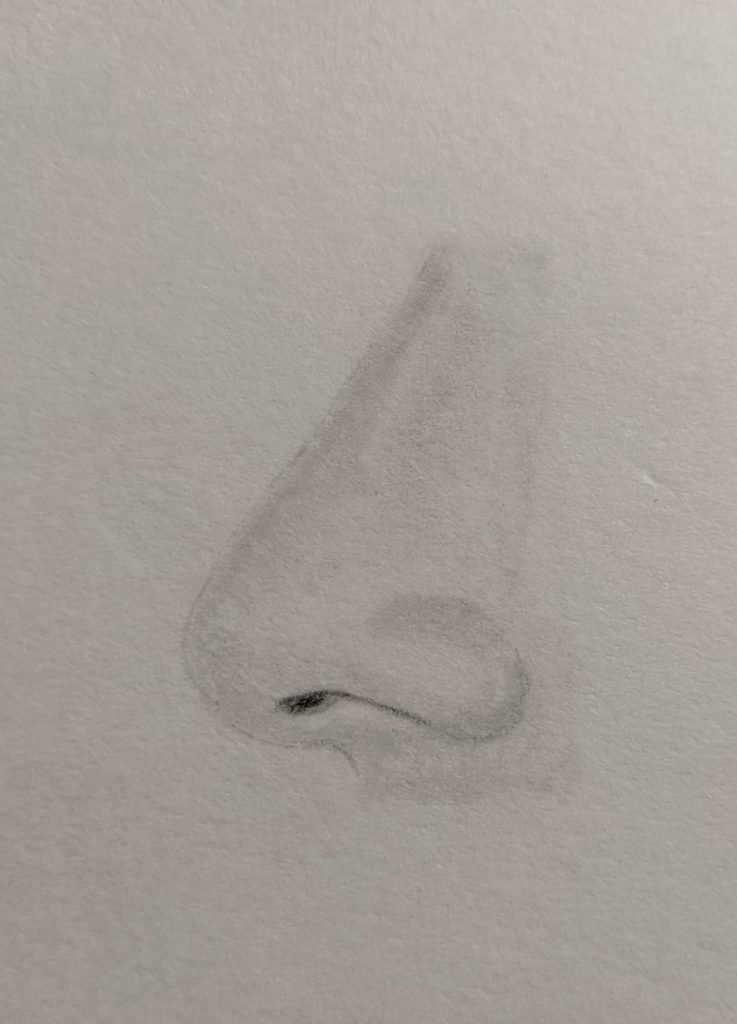
Step 6- Add more layer of shading
Add more layer of shading. Use a dark pencil to add detail in nostril.Use a kneadable eraser to highlight the area. This gives your drawing a realistic look
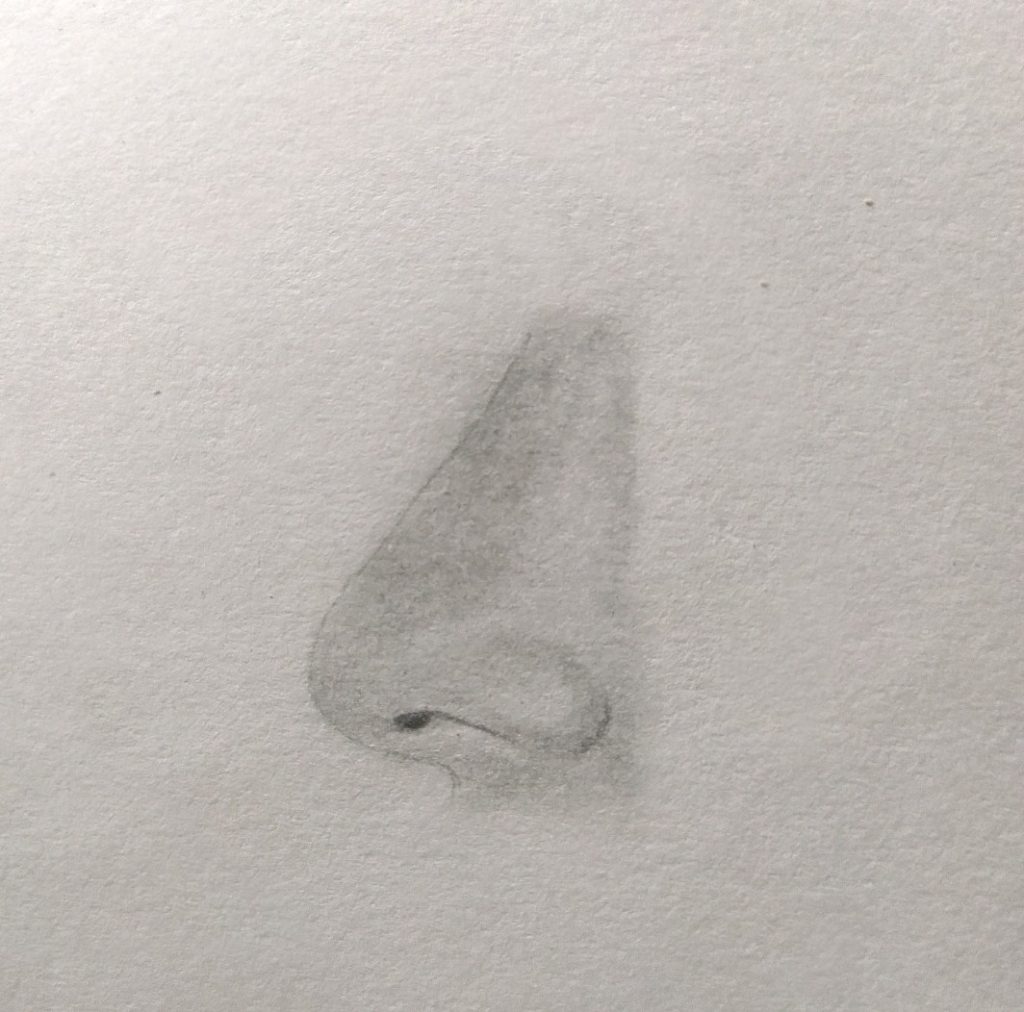
Step 7- Give final touchups
Add some final touch to your drawing. I make boudries more clear, make some light effect using a kneadable eraser and now my drawing is ready
This is a short tutorial on how to draw a nose from the side. If you like my tutorial then share it with your friends.
If you have any suggestions or any question then ask me in the comment section below.

