If you want to draw a beautiful butterfly then you are on the right place. Hello friends, my name is Ravi Gundal and today I will show you how to draw a butterfly for kids.
So follow the step by step tutorial to draw a beautiful colourful butterfly.
Tools you need
- Colour Pencils
- Smooth Paper
- Graphite Pencils
- Eraser
- Scale
- Smooth surface to draw
After having all these tools you can start the process
In this article I will draw two different butterflies with different shapes and colours.
First I am drawing the yellow butterfly. So here are the following steps :
How to draw a butterfly for kids
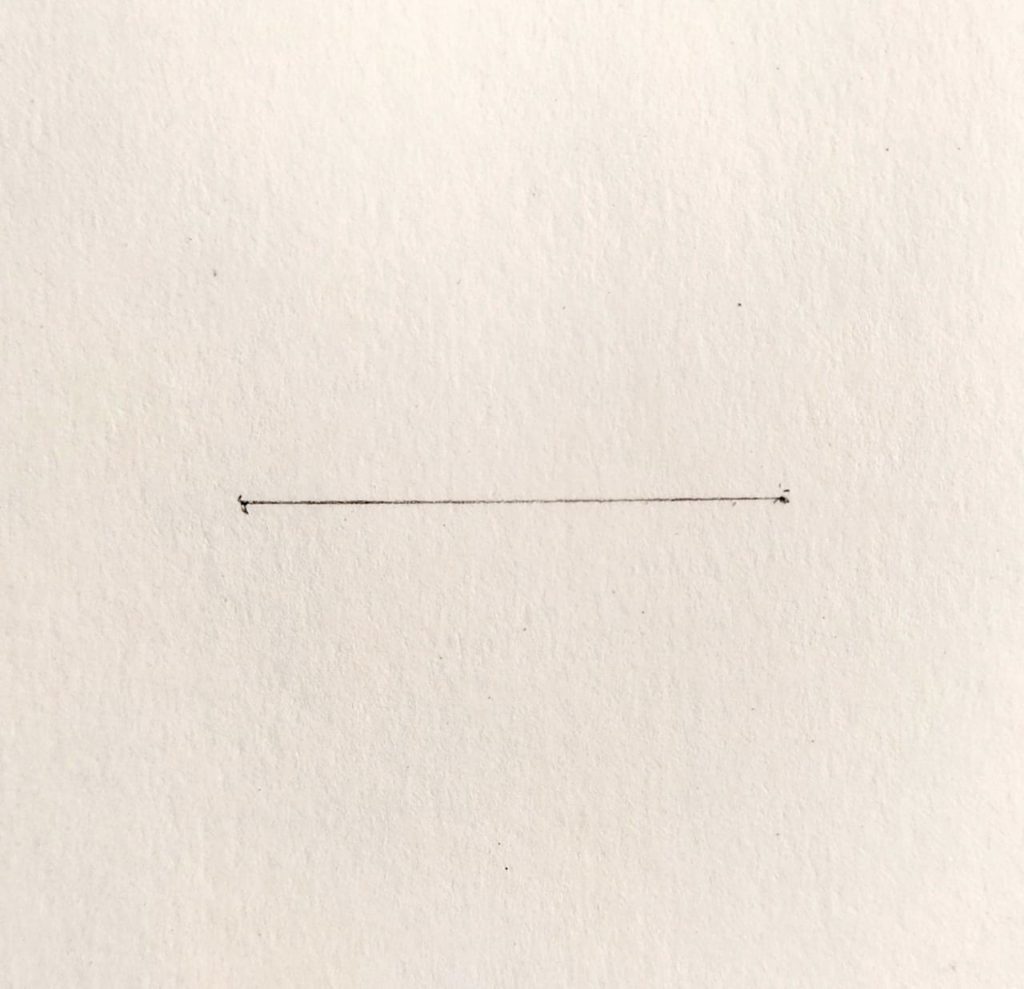
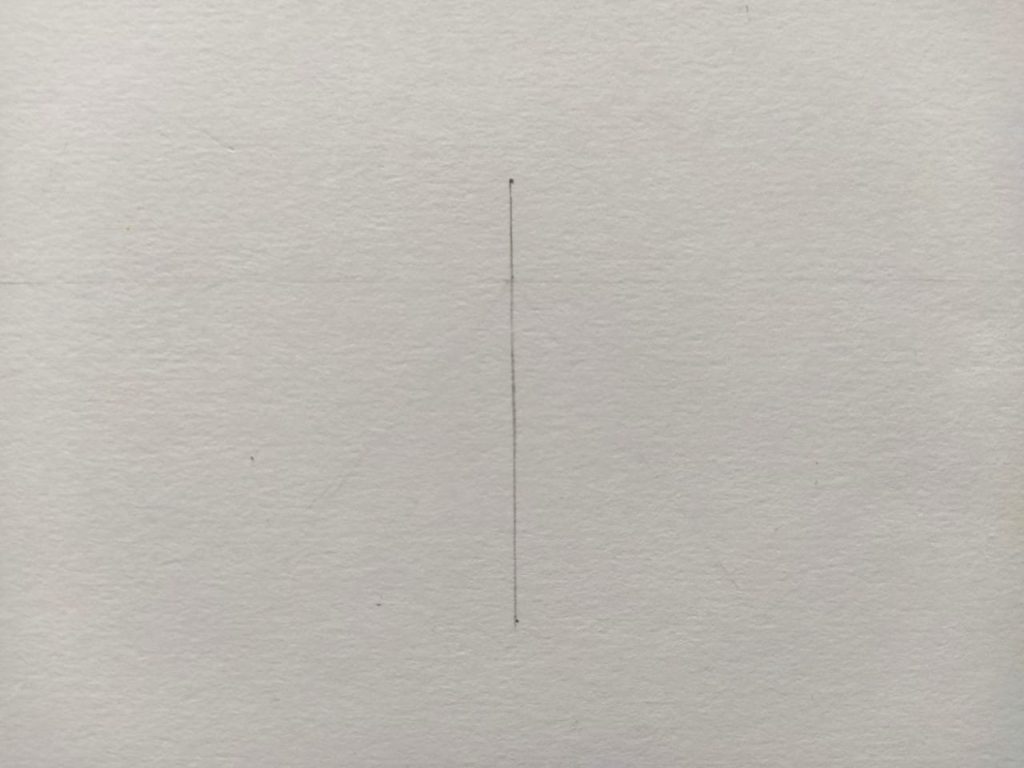
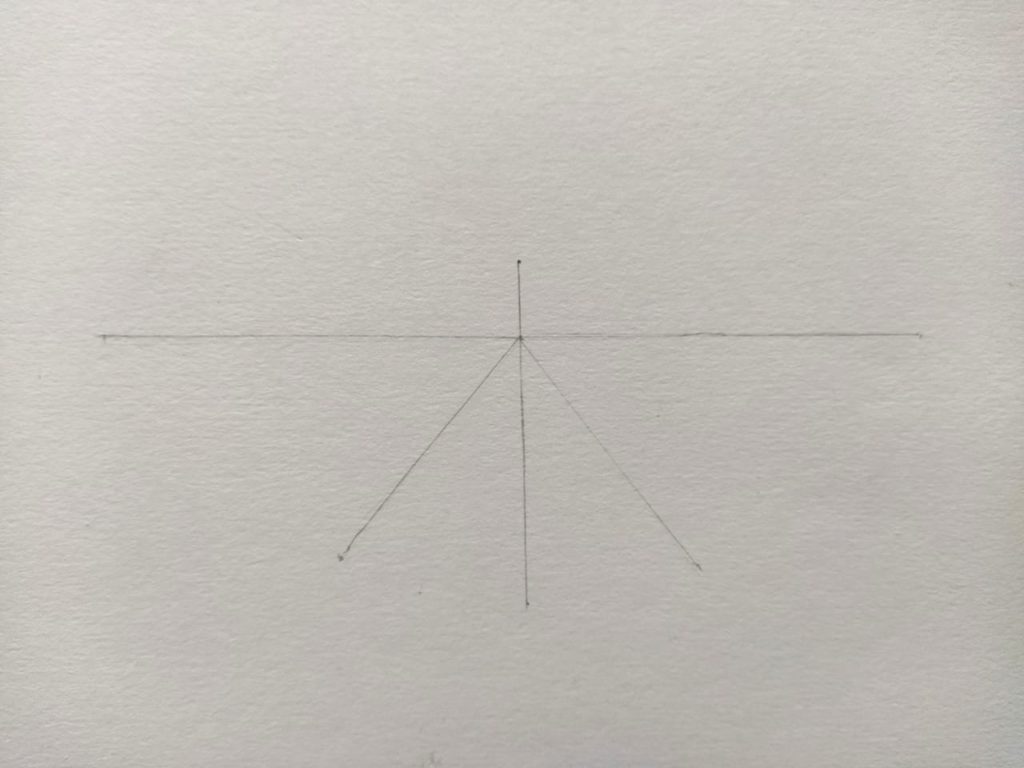
Step 1 : Start with a straight line
Draw a straight line with a graphite pencil
Step 2 : Draw two tangent line over the straight line
Draw two cross line of equal length on the horizontal line and from the midpoint of the horizontal line draw a vertical line.
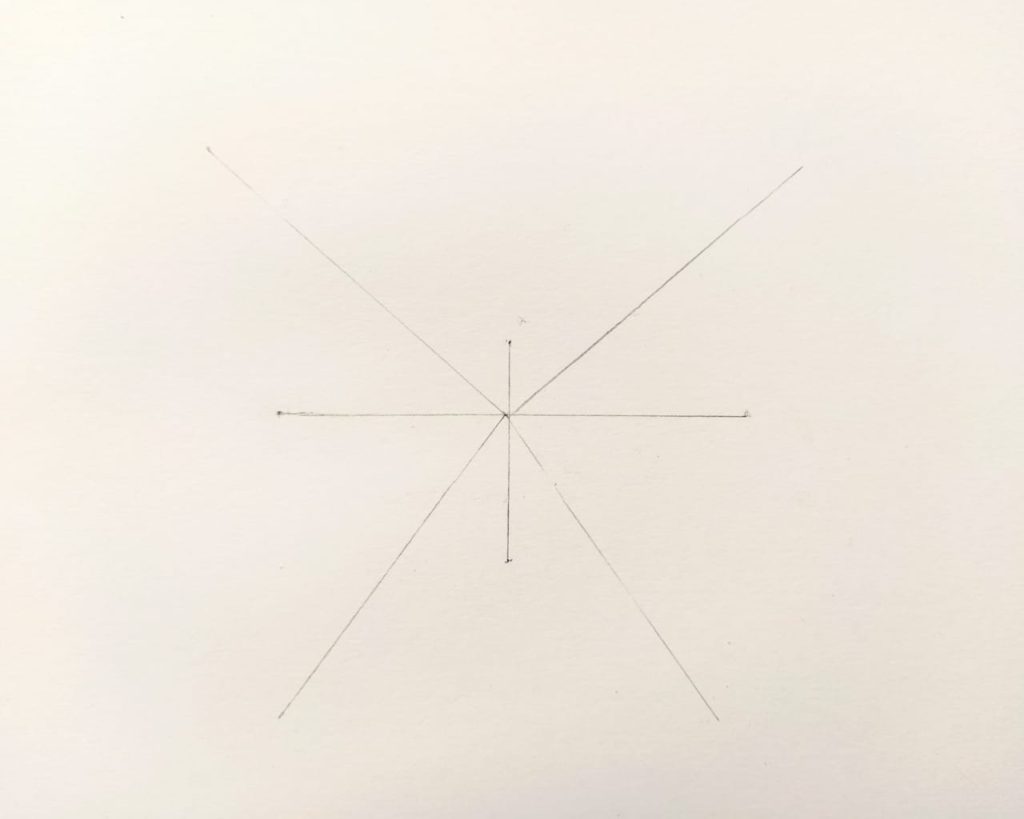
These two cross lines are for the wing of the butterfly and the vertical line is for the body of the butterfly
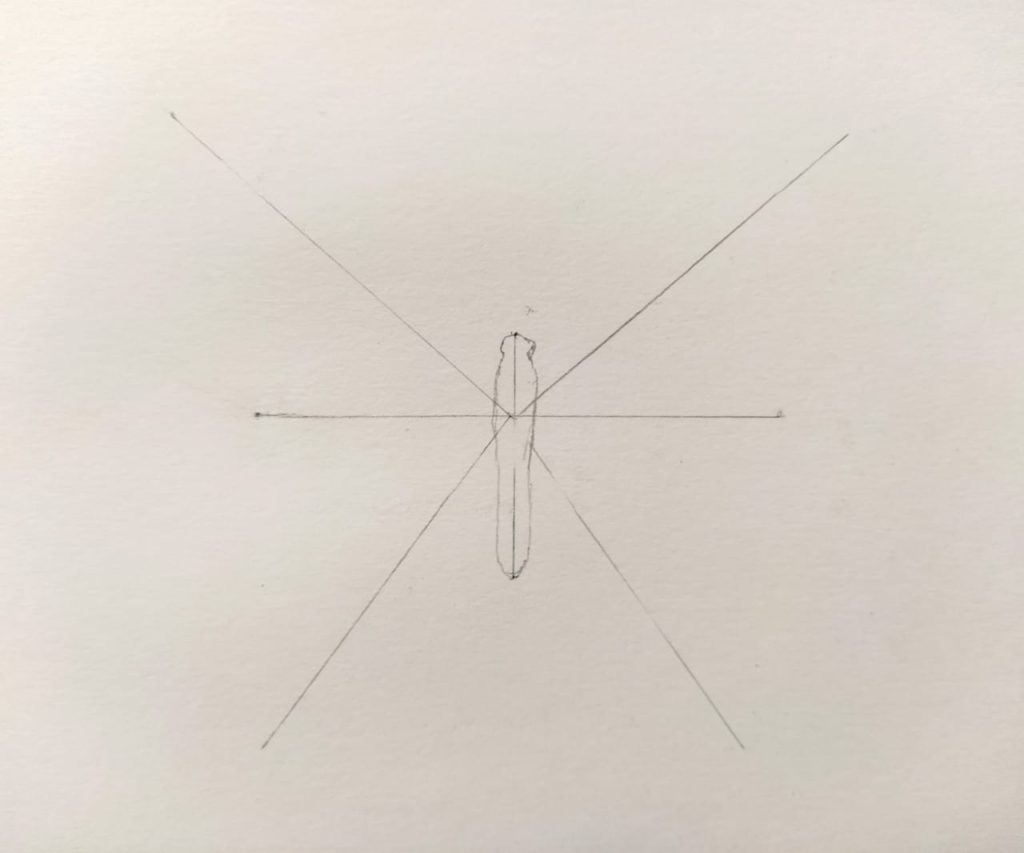
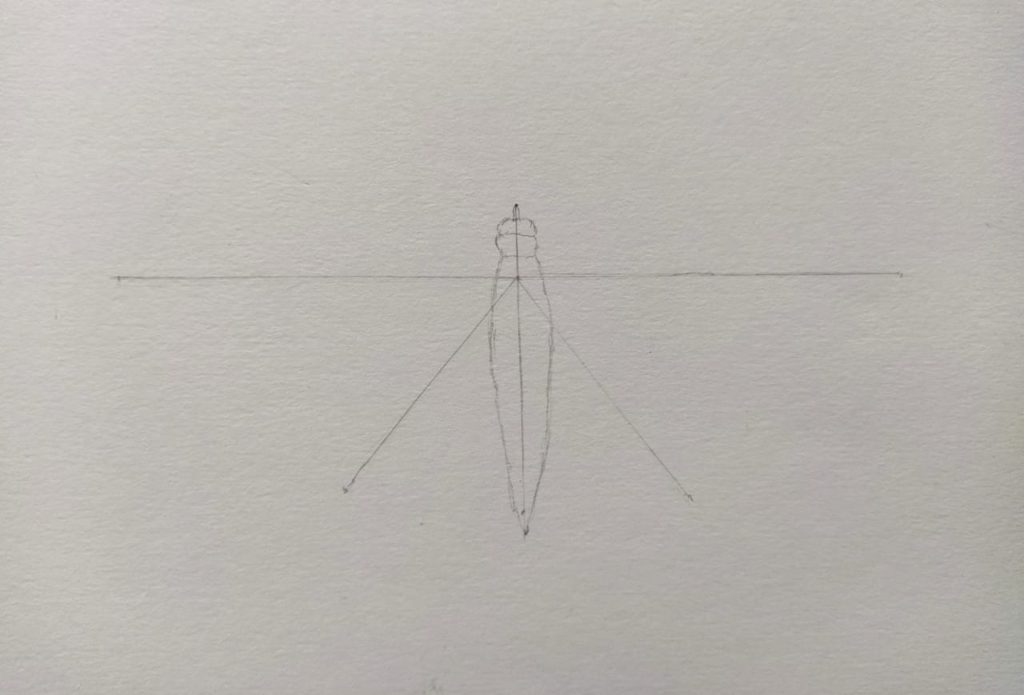
Step 3 : Draw the body and the head
Draw the body shape and the head of the butterfly on the vertical line. Draw it very lightly with a graphite pencil because you have to erase some extra lines
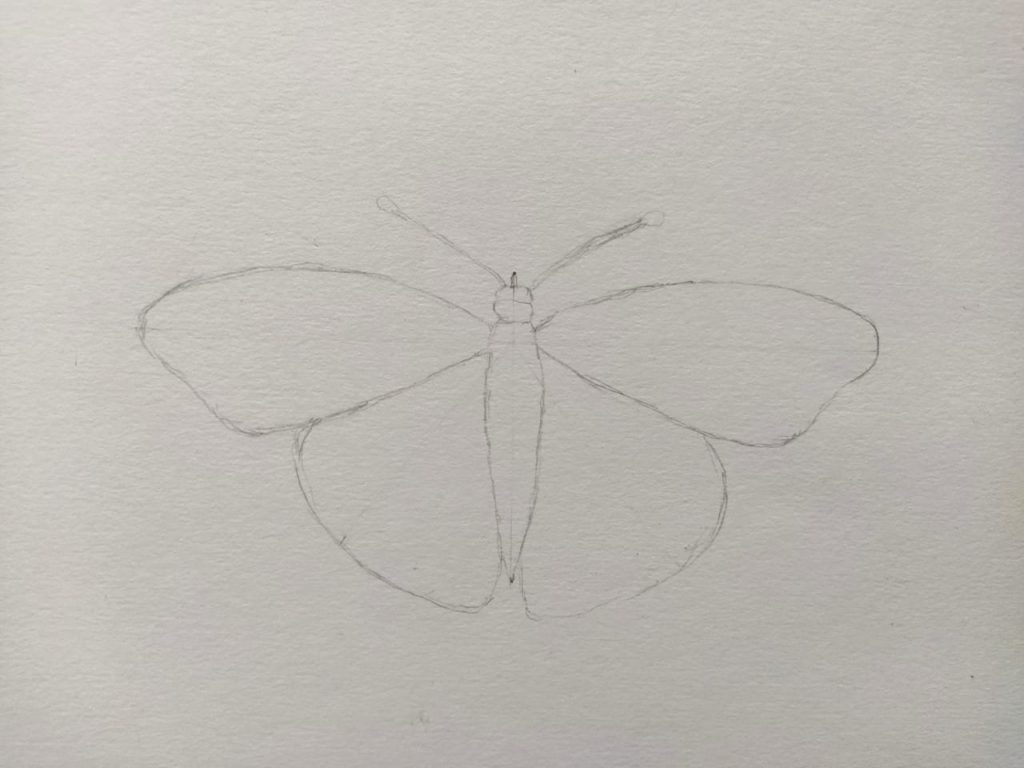
Step 4 : Draw the top wing
With the help of the guide lines we draw draw the top wings of the butterfly
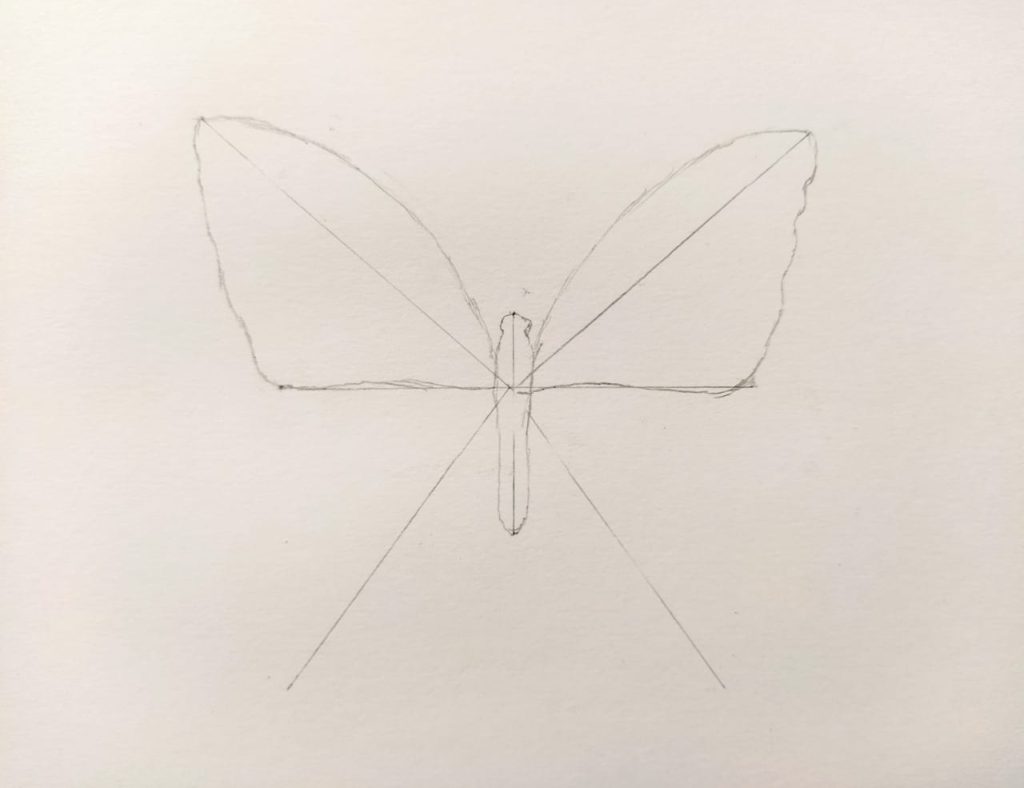
Step 5 : Draw the bottom wings
Now draw the bottom wings also

Step 6 : Erase the guidelines and draw the symmetrical shapes
after all the wings are ready, erase the guidelines and draw the beautiful symmetrical shapes on the wing
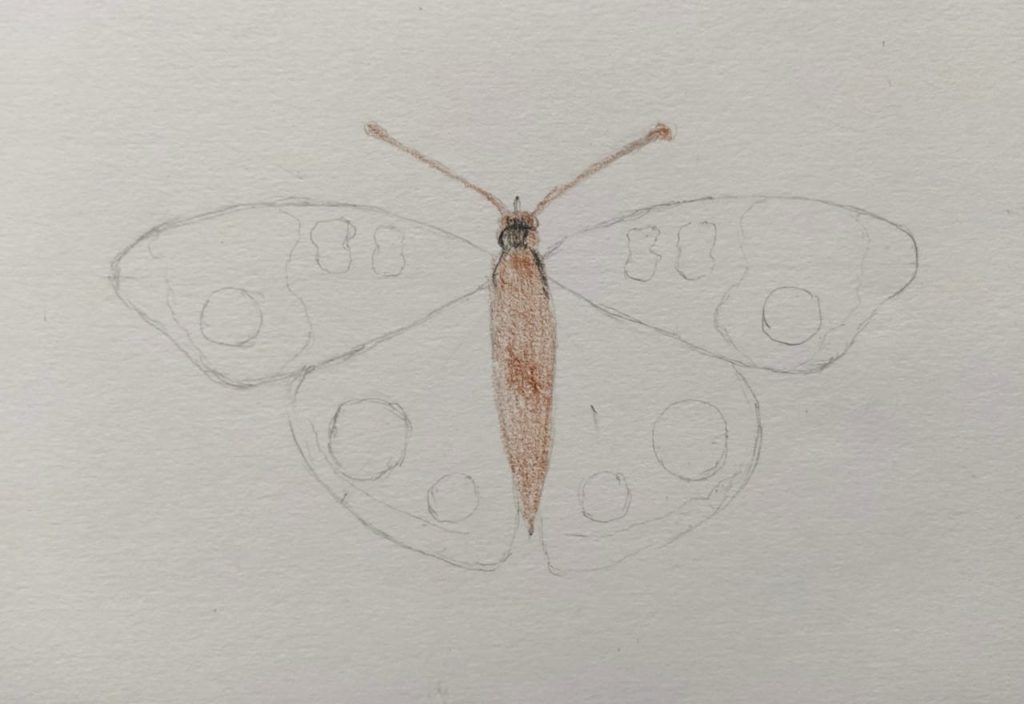
Now it’s time to use colour
Step 7 : Start with the body
When our drawing is completed it’s time to colour our drawing. I am using here prisma colour pencil. You can use any pencil you want.
Step 8 : Colour the full body
Now use black colour to colour the body

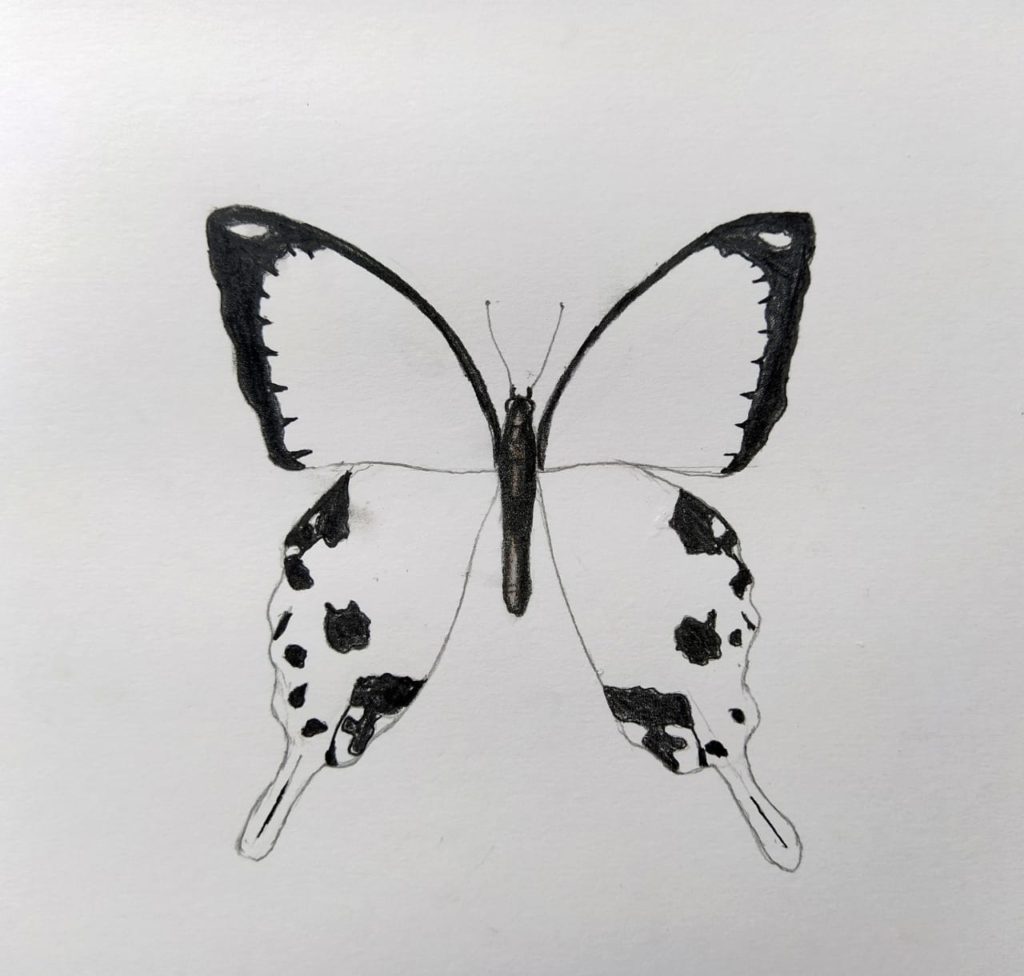
Step 9 : Colour the symmetrical shapes
Use the black colour to fill the symmetrical shapes
Step 10 : Fill more colour
Now fill the wings with the yellow colour
Step 11 : Apply second layer
Now apply the second layer of the yellow

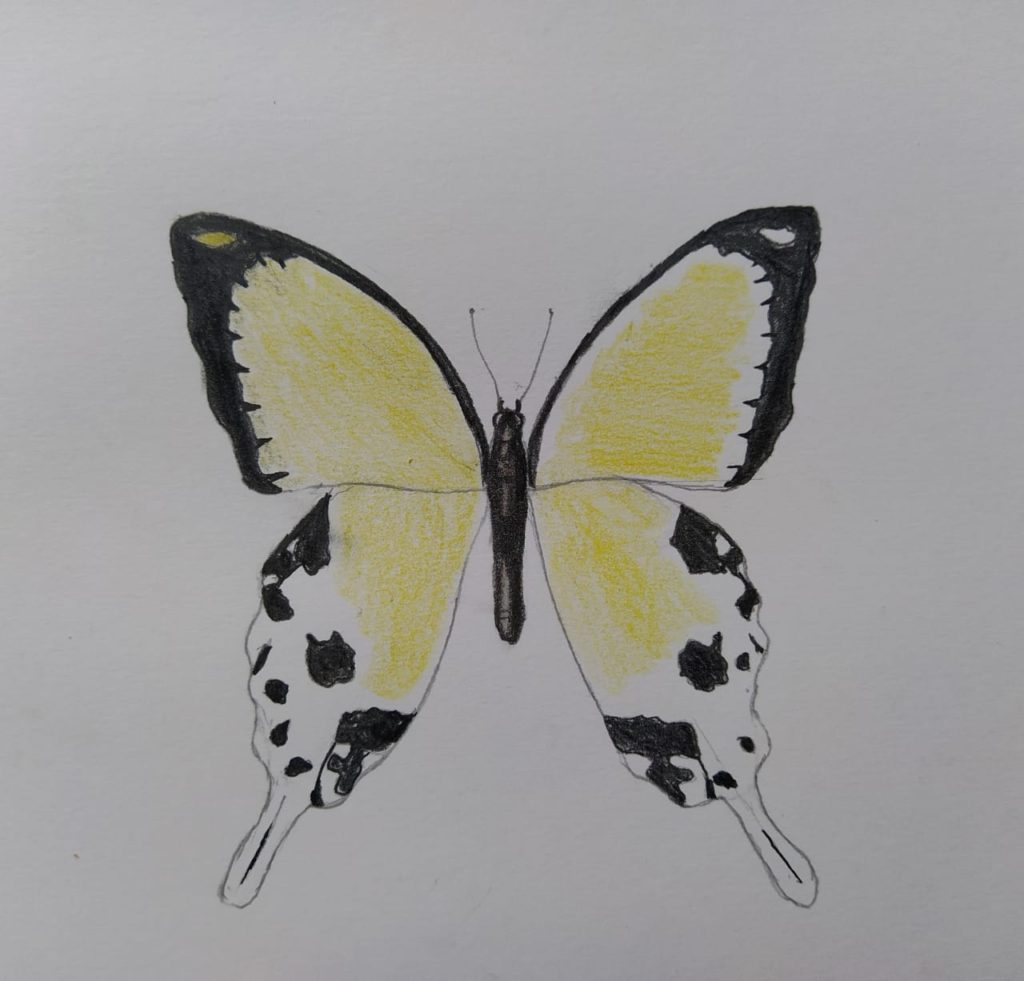
Step 12 : Final touch ups
Tools you need
- Colour Pencils
- Smooth Paper
- Graphite Pencils
- Eraser
- Scale
- Smooth surface to draw
After having all these tools you can start the process
In this article I will draw two different butterflies with different shapes and colours.
First I am drawing the yellow butterfly. So here are the following steps :
How to draw a butterfly for beginners
Step 1 : Start with a straight line
Draw a straight line with a graphite pencil
Step 2 : Draw a horizontal line
Draw a horizontal line over the straight line.
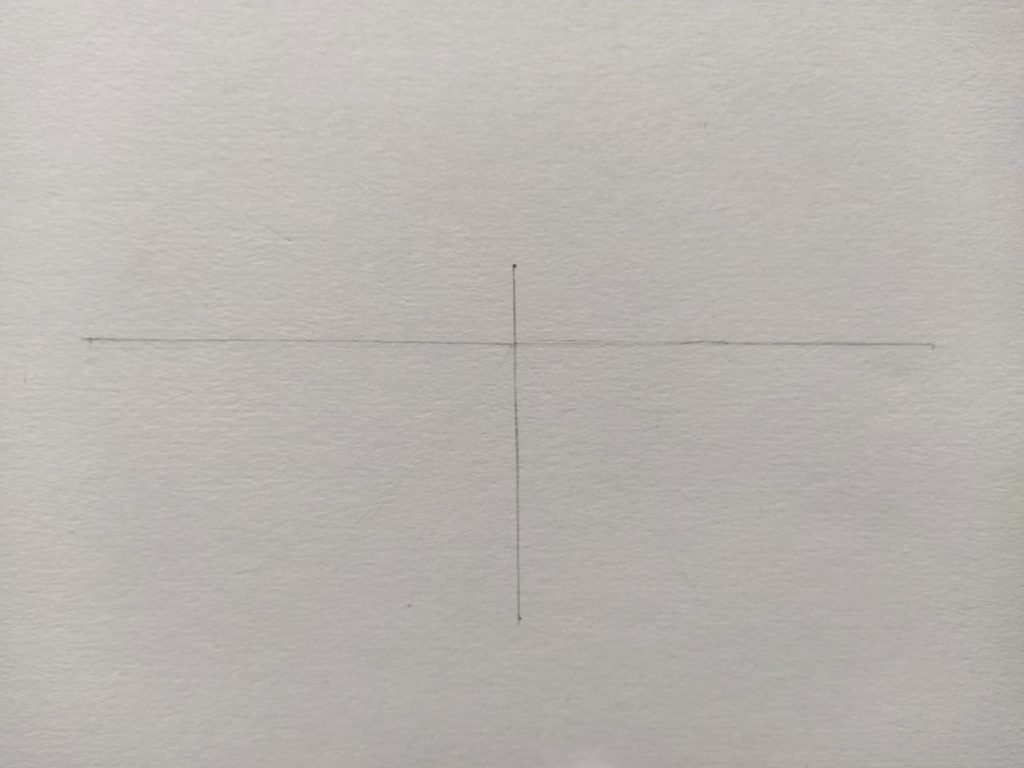
Step 2 : Draw two tangent line over the straight line
Draw two cross line of equal length on the horizontal line and from the midpoint of the horizontal line draw a vertical line.
These two cross lines are for the wing of the butterfly and the vertical line is for the body of the butterfly
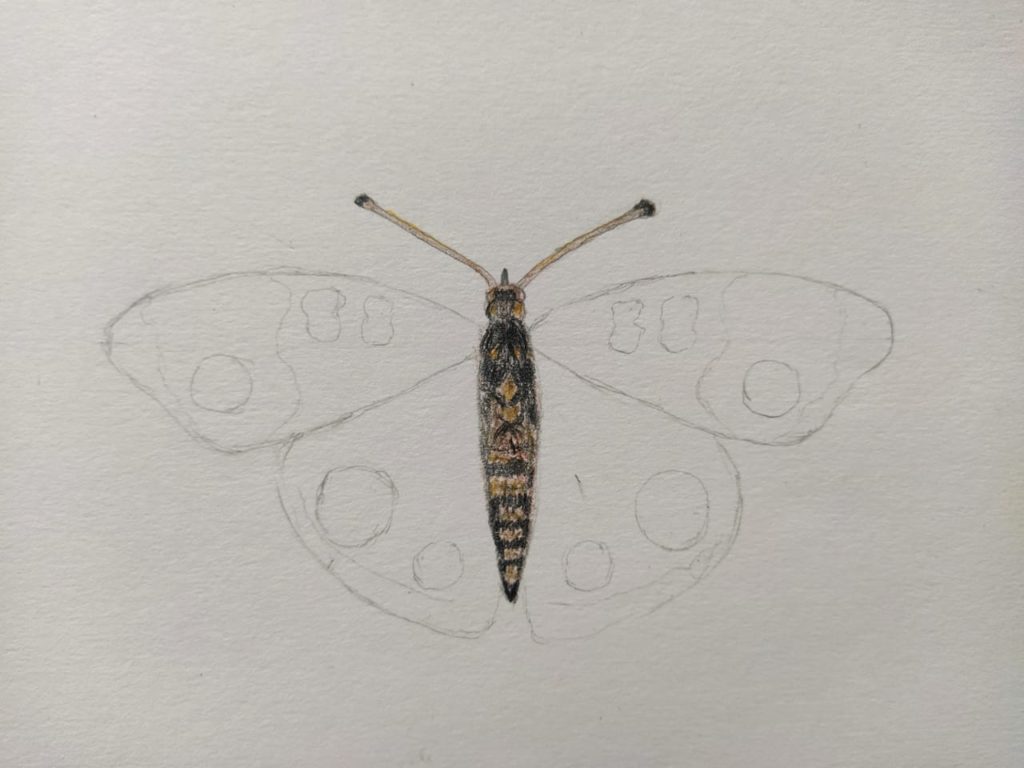
Step 3 : Draw the body and the head
Draw the body shape and the head of the butterfly on the vertical line. Draw it very lightly with a graphite pencil because you have to erase some extra lines
Step 4 : Draw the top wing
With the help of the guide lines we draw draw the top wings of the butterfly

Step 5 : Draw the bottom wings
Now draw the bottom wings also

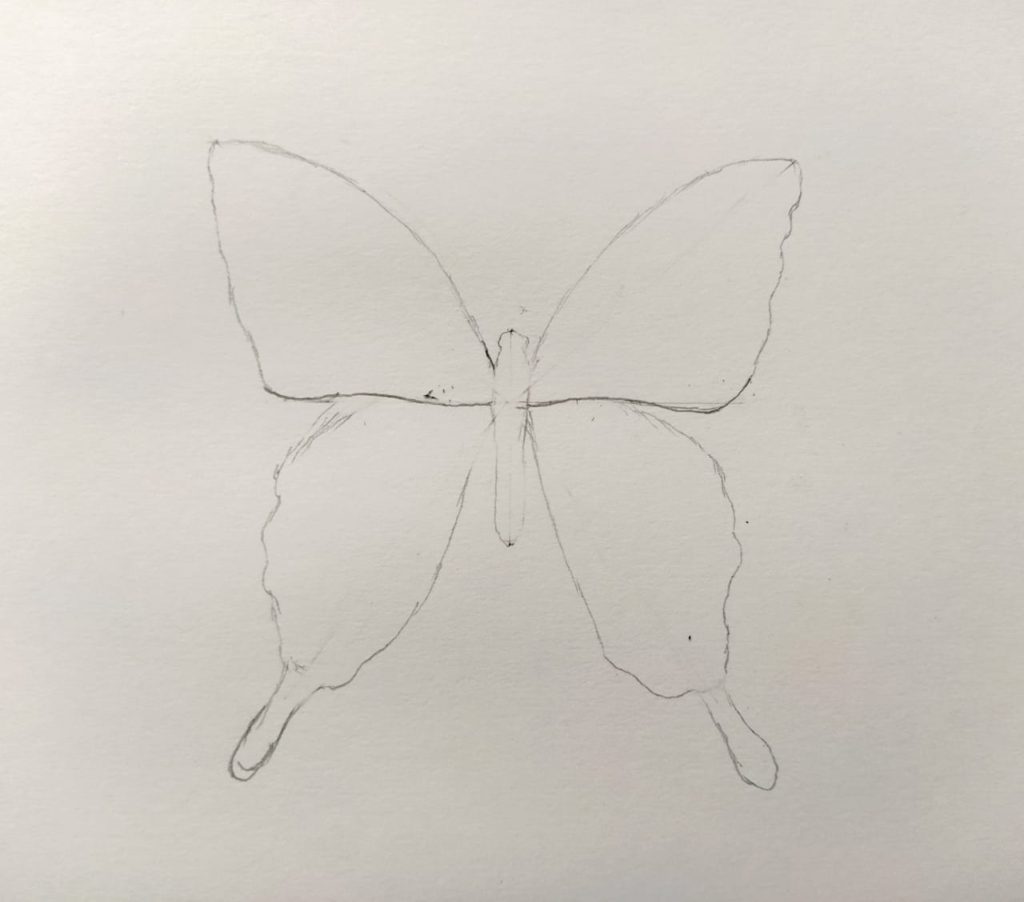
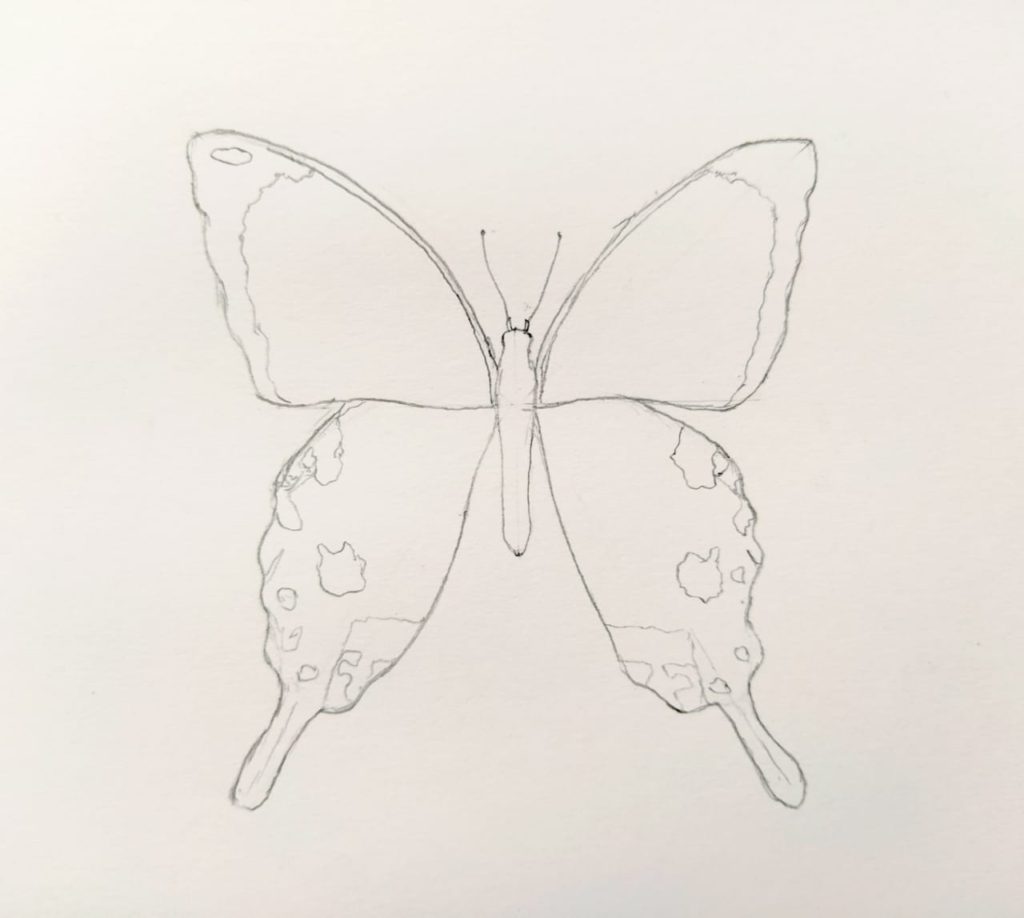
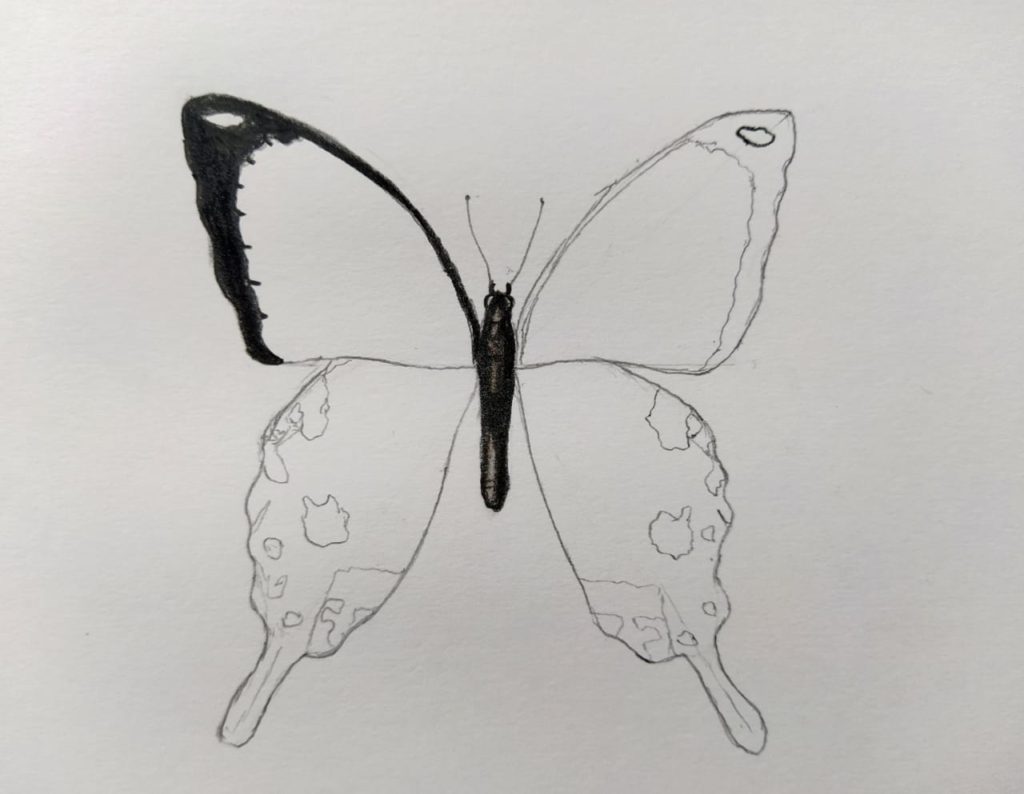
Step 6 : Erase the guidelines and draw the symmetrical shapes
after all the wings are ready, erase the guidelines and draw the beautiful symmetrical shapes on the wing
Now it’s time to use colour
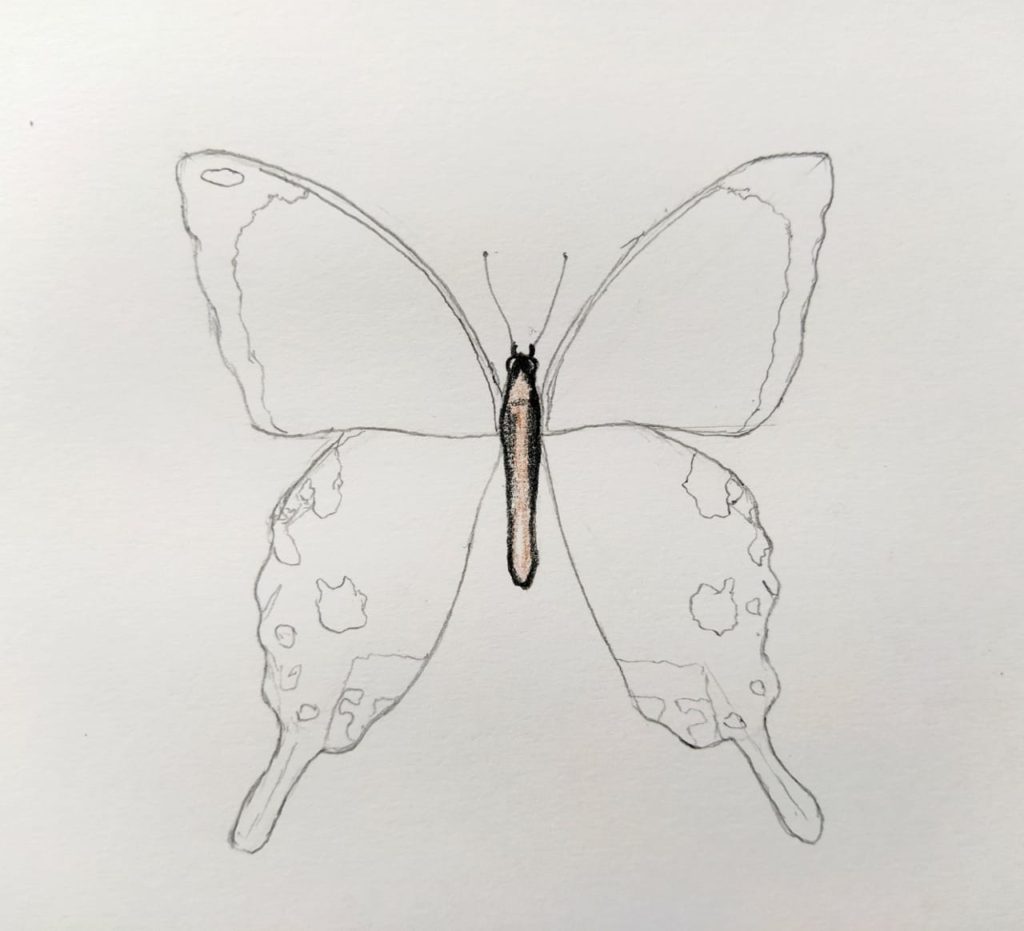
Step 7 : Start with the body
When our drawing is completed it’s time to colour our drawing. I am using here prisma colour pencil. You can use any pencil you want.
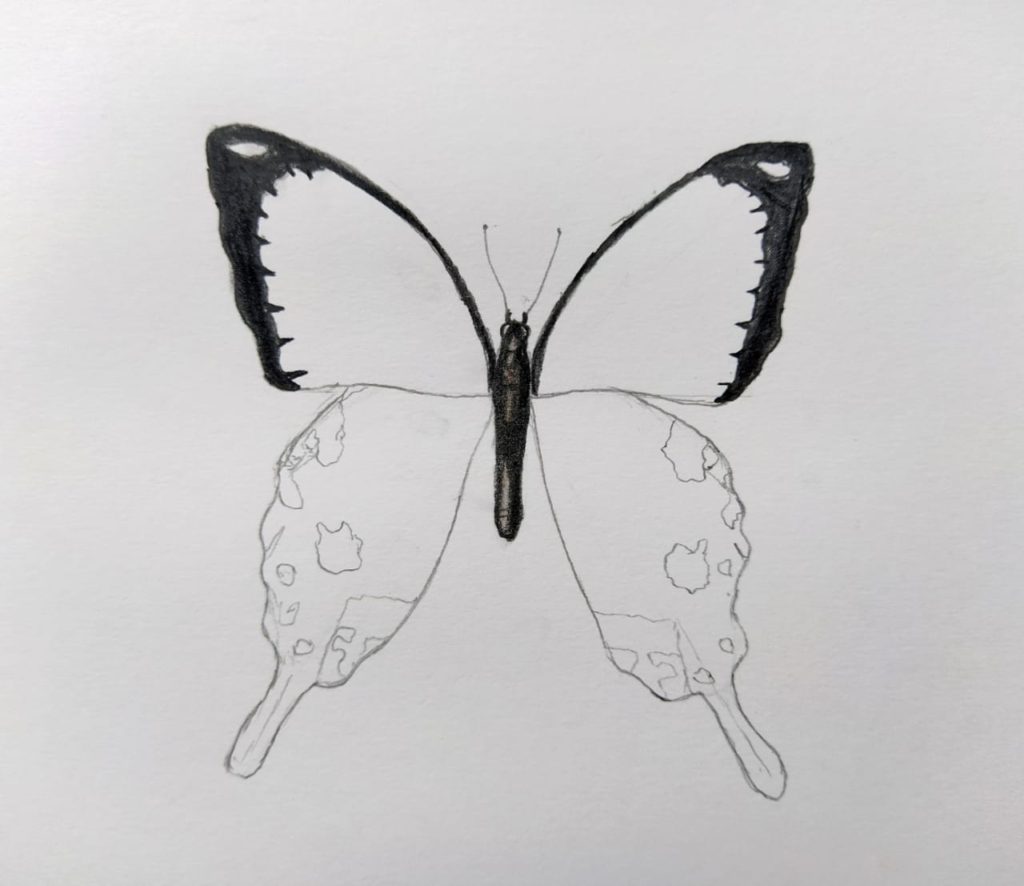
Step 8 : Colour the full body
Now use black colour to colour the body
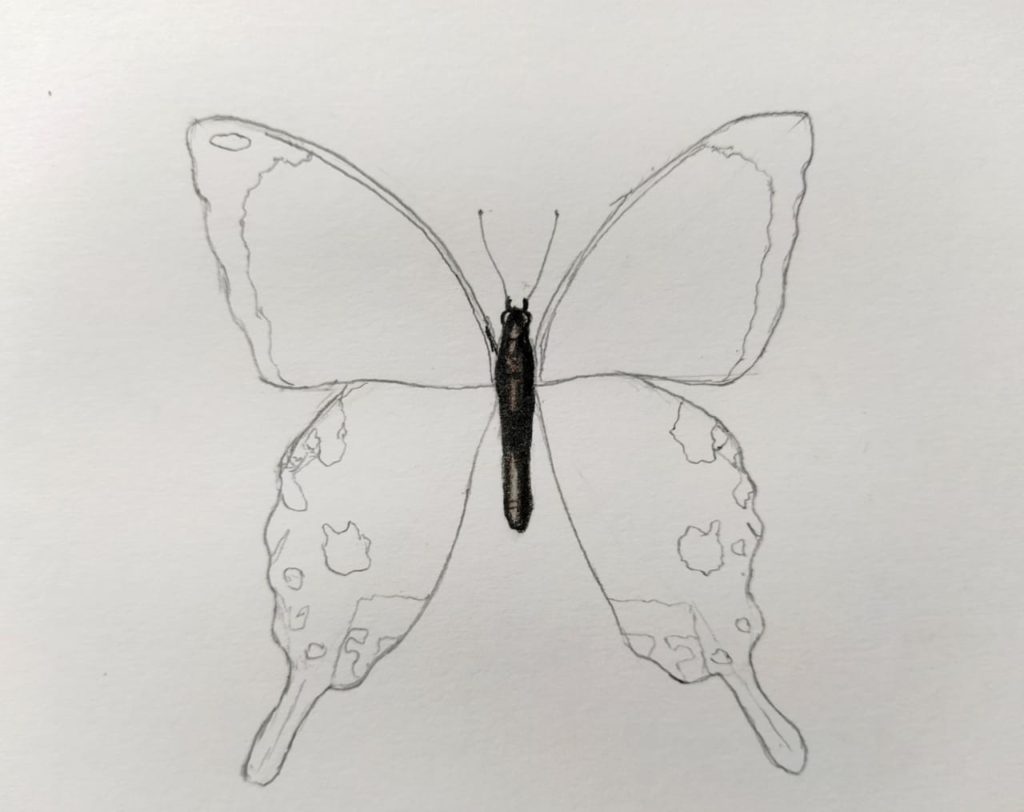
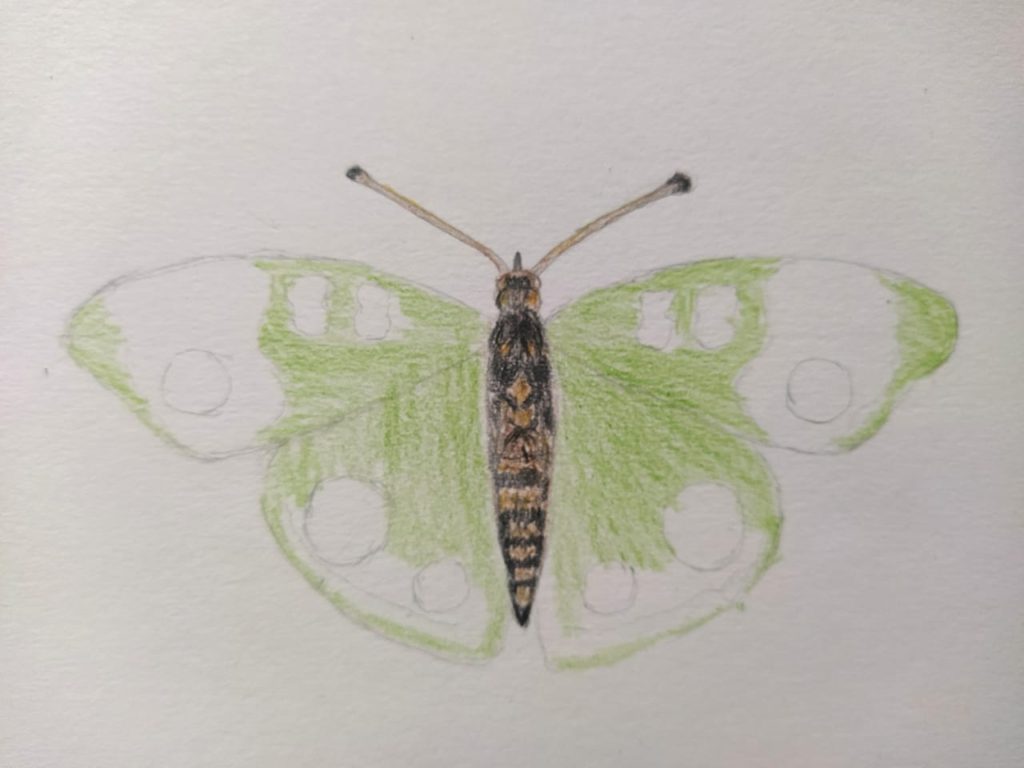
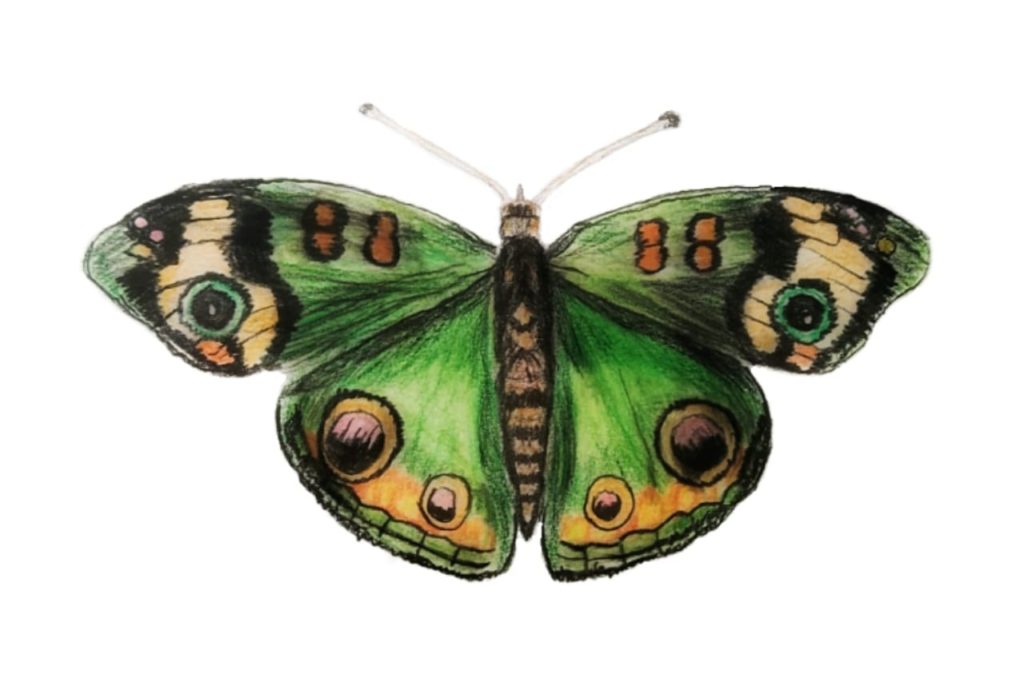
Step 9 : Colour the wings
Now colour the wings. I am using here green colour
Step 10 : Colour the symmetrical shapes
Now colour the symmetrical shapes. I am using the refference to pickup the colours
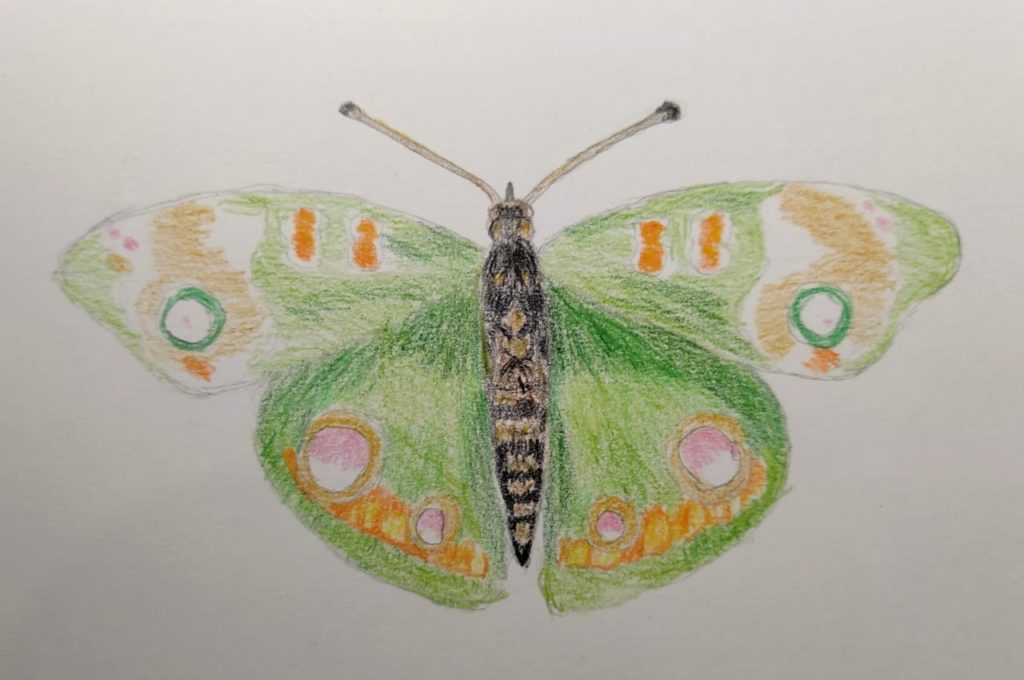

After coloring the symmetrical shapes I am going to blend it. I am using baby oil for blending. You can apply it with a paint brush.
Step 11 : Apply second layer
After blending the colours apply the second layer of colours.
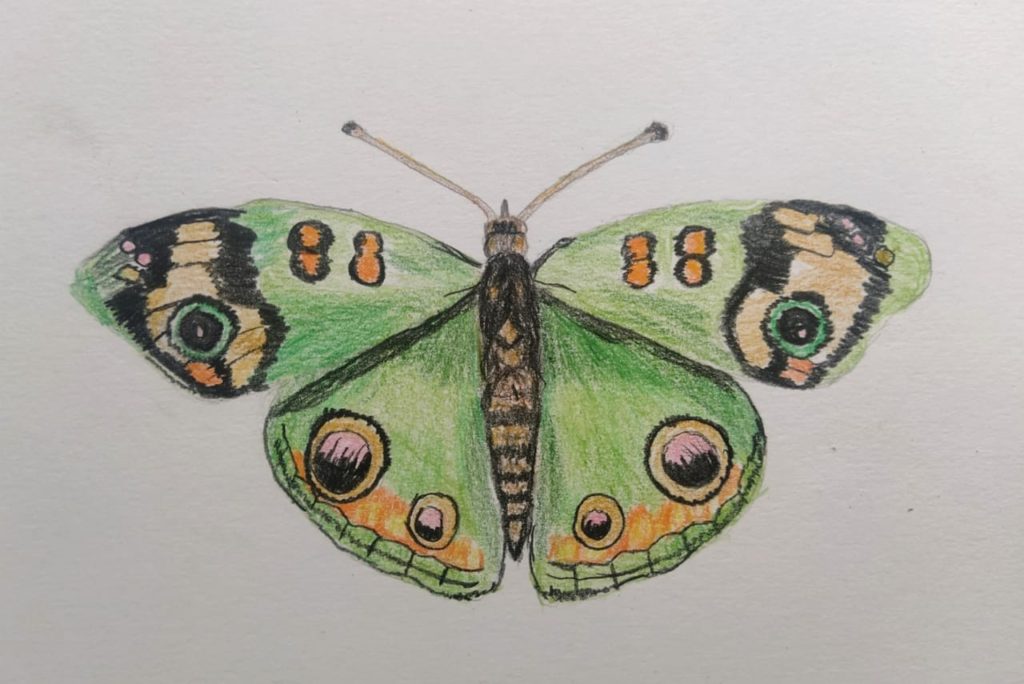
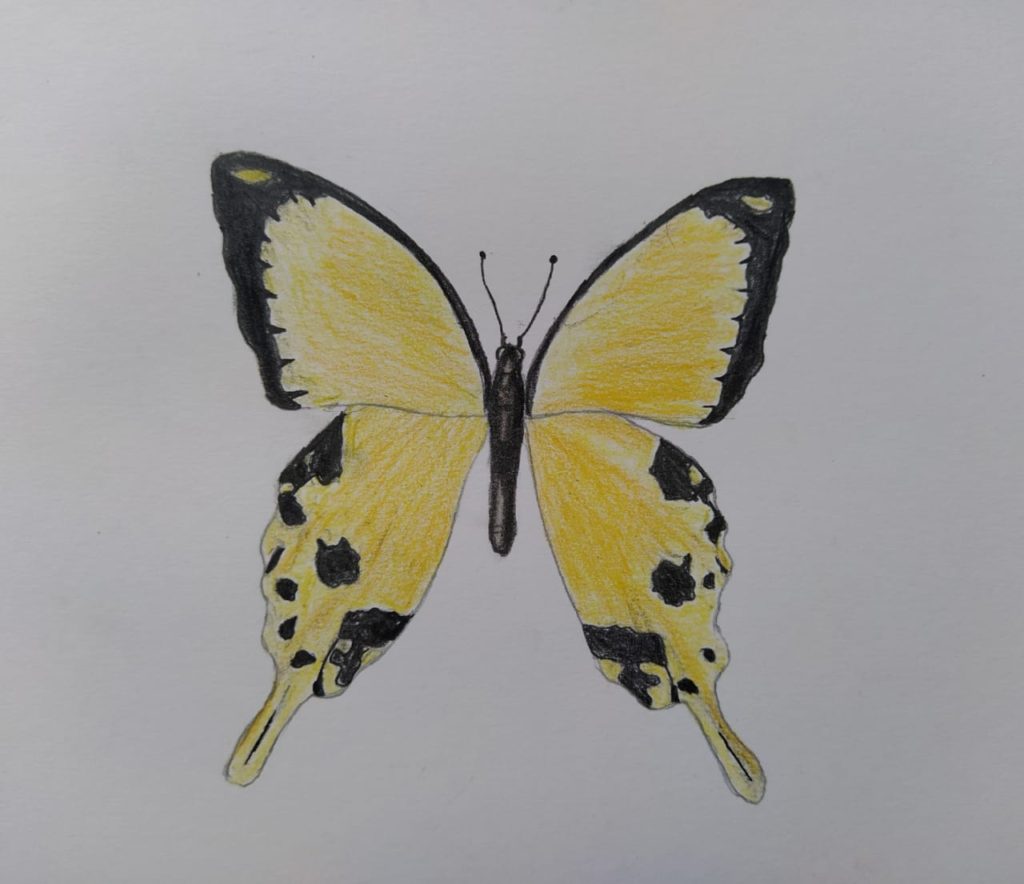
Step 12 : Final touch ups
Apply some final touchups and your drawing is ready to popup
This is tutorial on how to draw a butterfly for kids. If you like this tutorial then share it with your friends also. Thanks for reading.
Nice bro