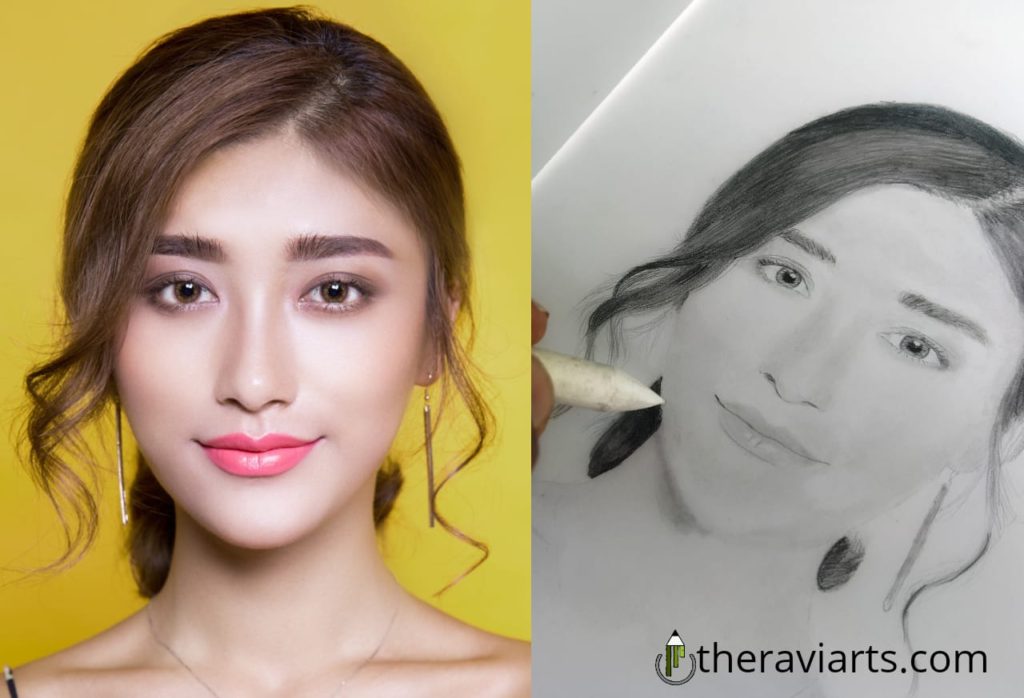
Hi there, my name is Ravi Gundal and In this article I will show you how to draw a portrait from a photo.
Drawing a face from a photo is not a easy task, it require a lots of skill, hardwork and patience. But if you practise regularly then you can draw accurately after some time because art is a skill that can be learned. With right techniques and practice you will able to draw amazing portrait
So today I will show you the easiest way how to draw a portrait from a photo so you can draw better.
There are many method to draw a realistic sketch from a photo like Tracing, observation, grid and measurement. But I personally don’t like tracing because this makes me feels like I am cheating, so perosnally use two method:
1. Observation method
2. Grid method
Observation method requires direct observation of the object you want to draw. You have to observe the facial structure of the person you want to draw. This method require a lots of practice and I will not recommend it for the beginner.
But beginners can you grid method to draw to accurate faces. So in this article we will discuss on how to draw a portrait from a photo by grid method.
So before starting there are some artsupplies you need to draw
Art supplies you need :
- Smooth paper for your drawing
- HB pencil
- Eraser
- Blending tools for shading and blending
- Flat surface to draw
- A picture to draw

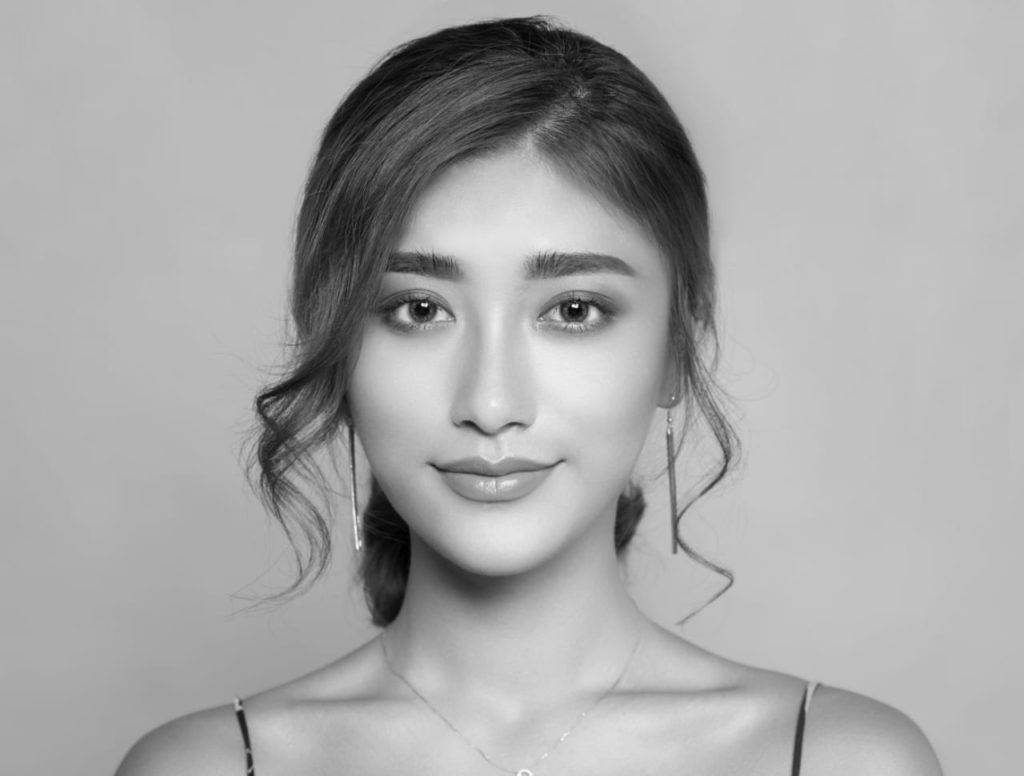
You can use the image as it isbut I suggest you to make it black and white because it is very easy to draw a black and white photo than a color one if you are not making a colored drawing. I edit it in google photos to make it black and white.
Now we start the step by step tutorial
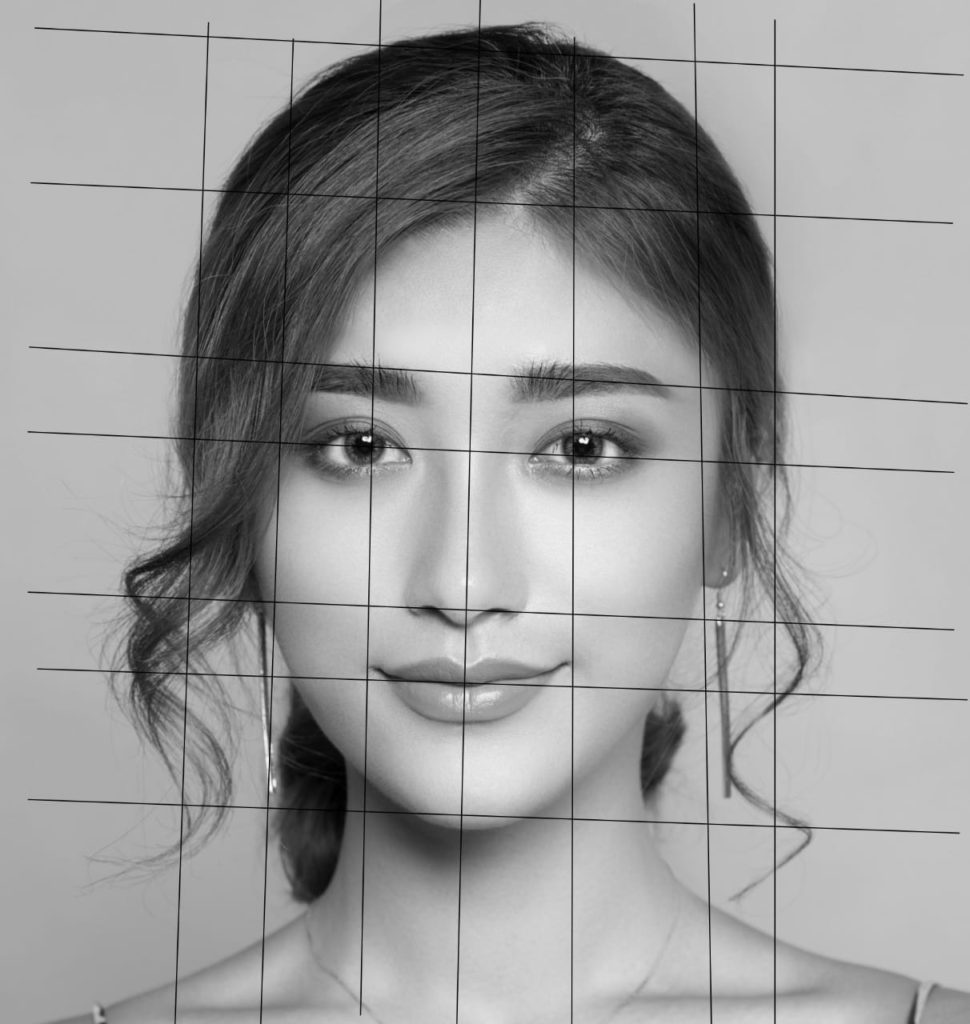
Step 1- Apply the Grid
First of all you have to make a grid on the photo. There are two ways to make grid. One you can print this photo and make grid lines on it or you can simply use your phone to make the grid drawing. There are many apps you can use for making grid.
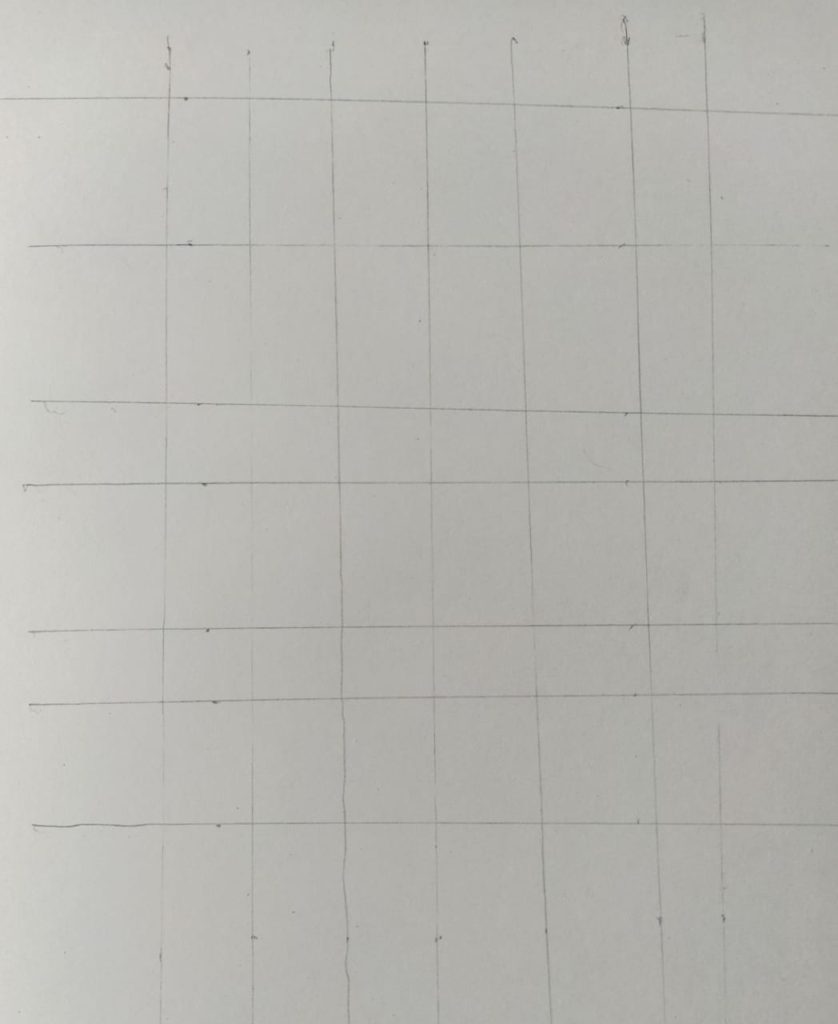
Step 2- Make grid on the page
Now make the same grid on the page. You can make a square grid that is very easy to make on paper but I am making random grid according to face part. You can also use the same technique for drawing the grid. I will recommend you use a smooth paper for your drawing.
Use a light pencil to draw the grid because it is very easy to erase after.
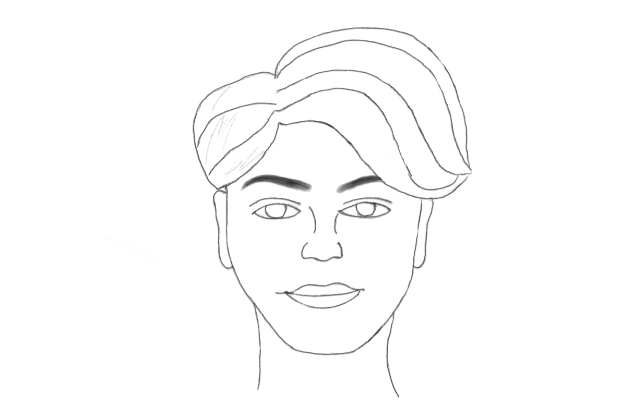
Step 3- Draw the outline
Now draw the outline for the face by using these short column. This is the main part for grid method drawing because if you make out line wrong it give a huge difference between the original photo and your drawing. So makes out line very carefully.
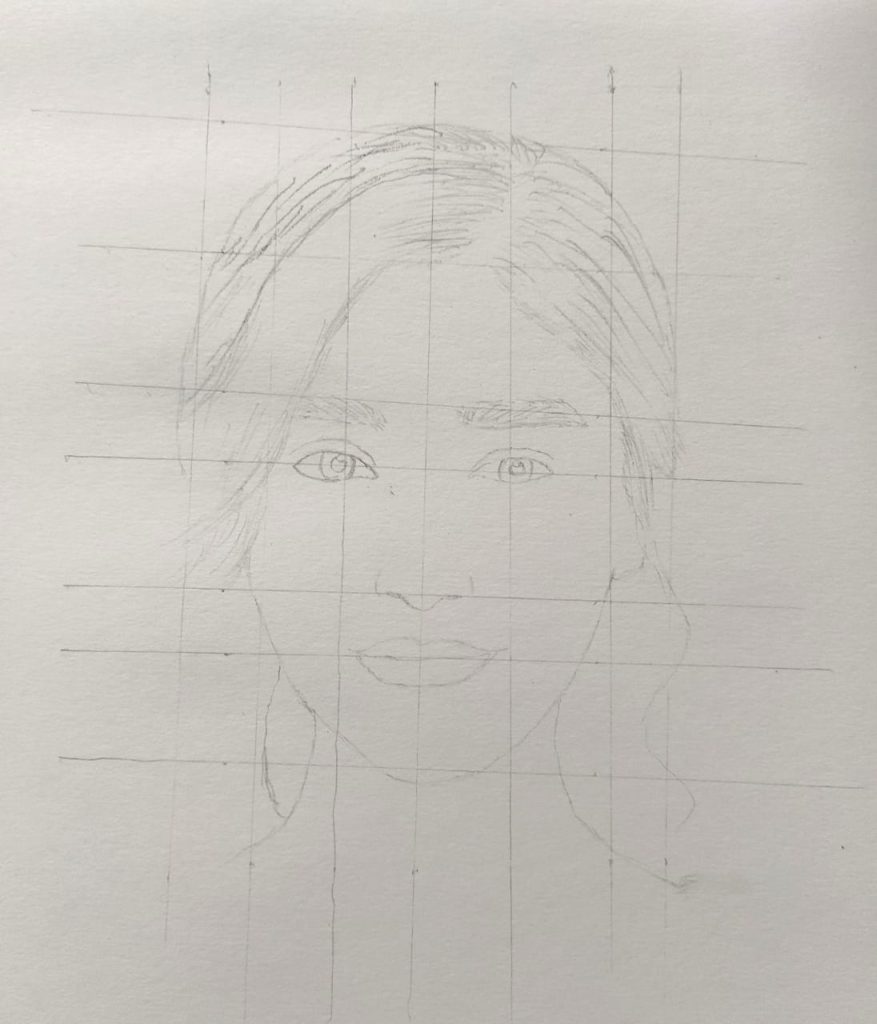
Step 4- Erase all the grid
Now when all the outlines of your drawing are ready then erase the all grid line. But erase it carefully, do not erase the outline of drawing as hsown in fig.
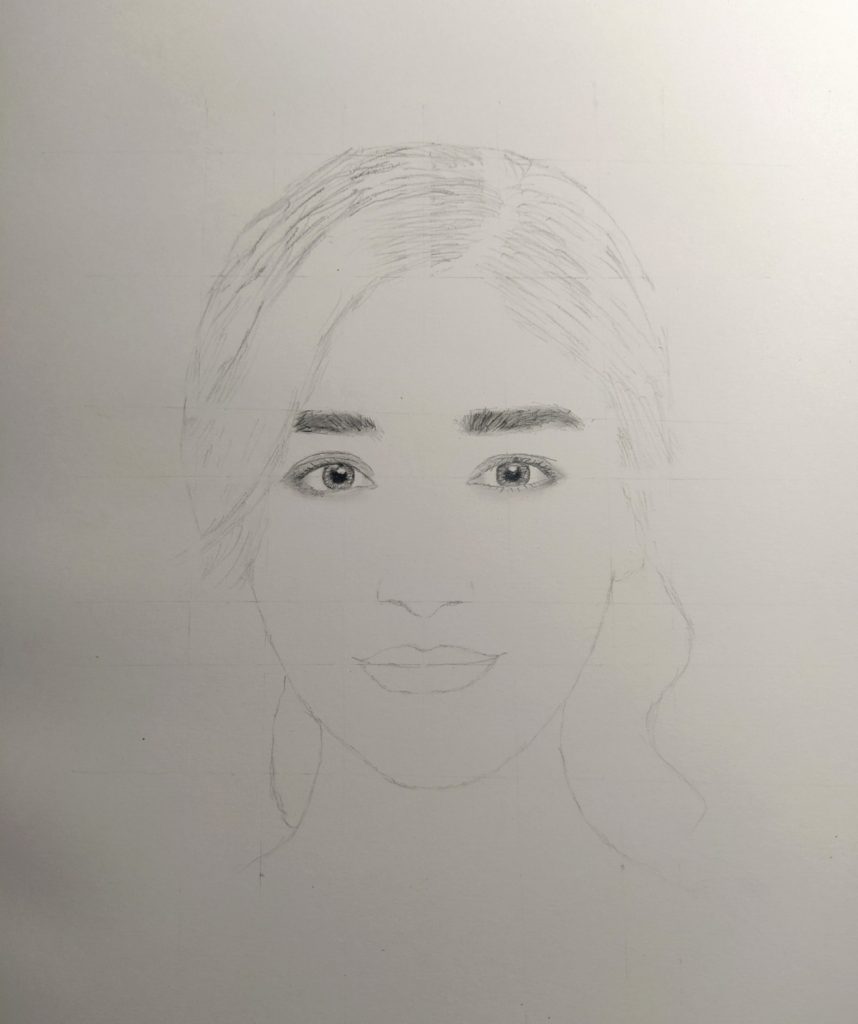
Step 5- Draw the eye
now the outlines of your drawing are ready. You can start work on body part. Start with eye. Draw both the eyes. If you dont know how to draw an eye then read my these articles
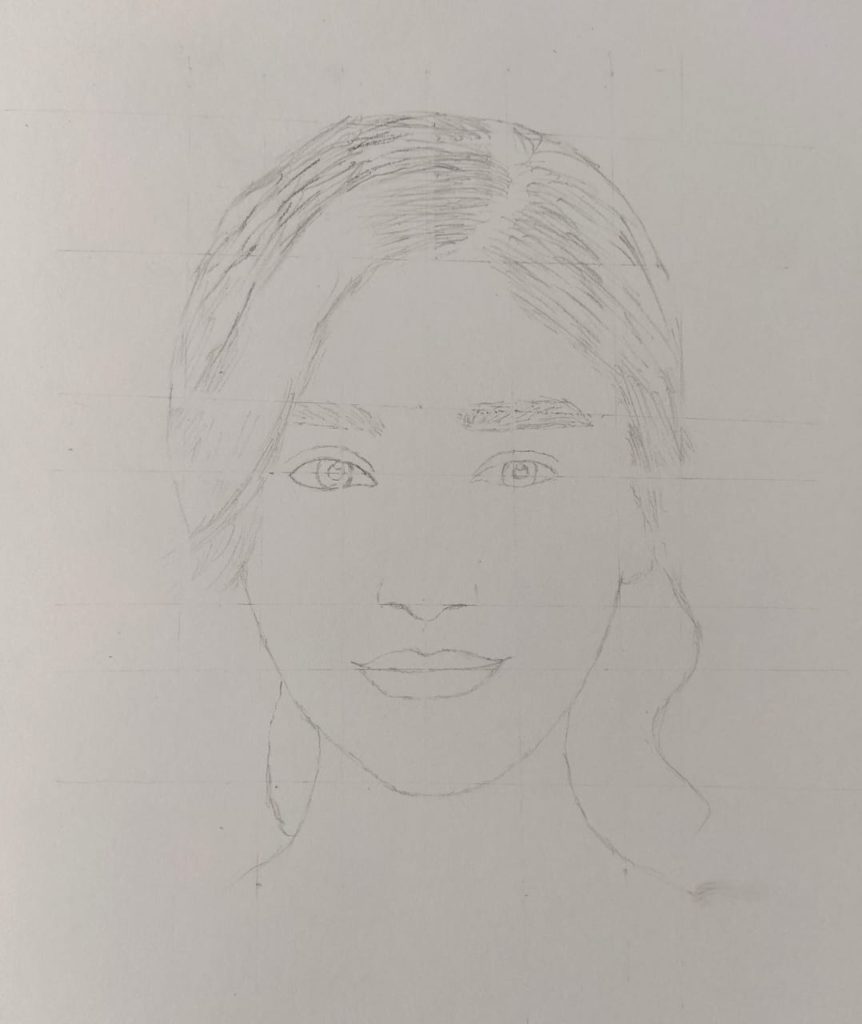
Step 6- Start drawing eyebrows
When the eyes are finished, you can work on eyebrow. Try to make it as realistic as your subject photo. You can start with a light pencil.

Step 6- Finish the eyebrows
Now finish the eyebrows . If you don’t know how to draw eyebrows then read my this article.
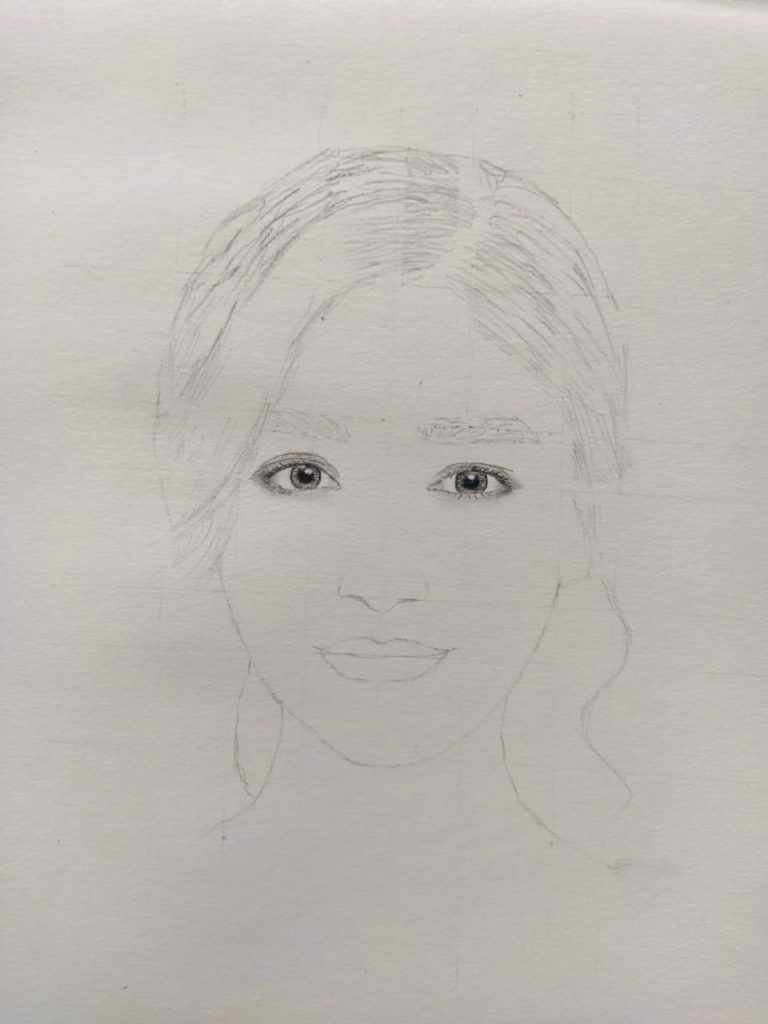
Step 7- Draw the nose
Now start drawing nose. Nose is very difficult to draw. But my this article will help you to draw nose easily.
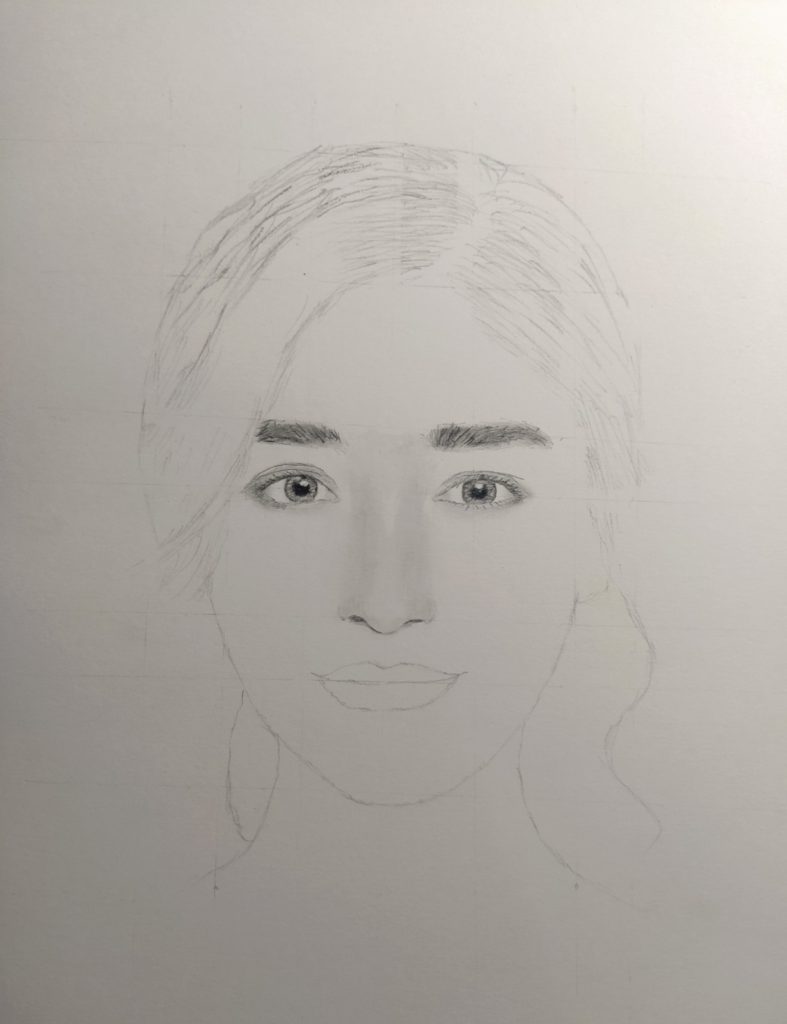
Step 8- Draw the lips
When the nose is finished, draw the lips
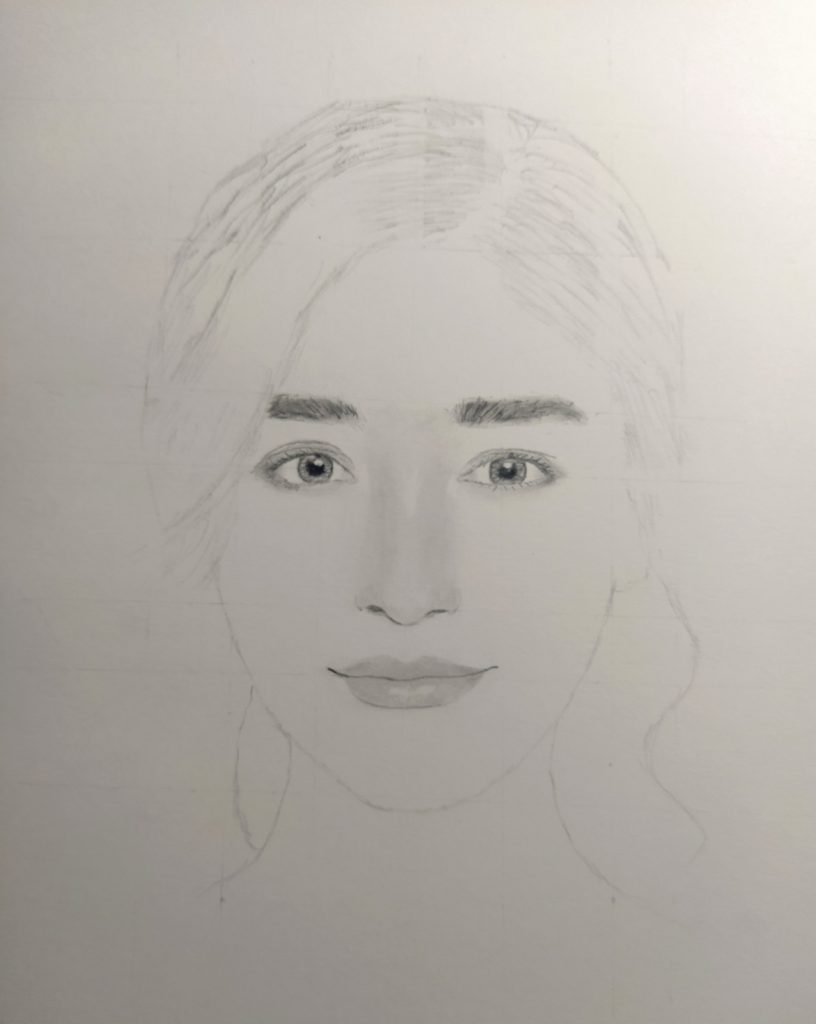
Now take a overview of your drawing if all the shapes are in the exact way andmatch with the refference. If there are some problem fix them otherwise move to the shading part.
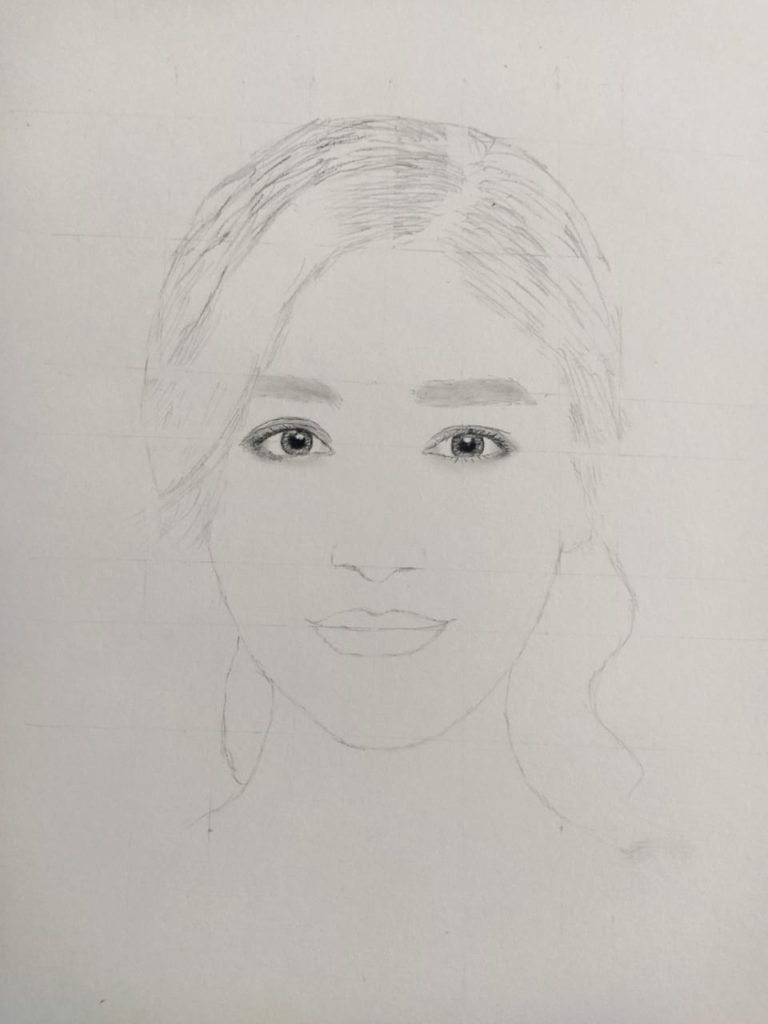
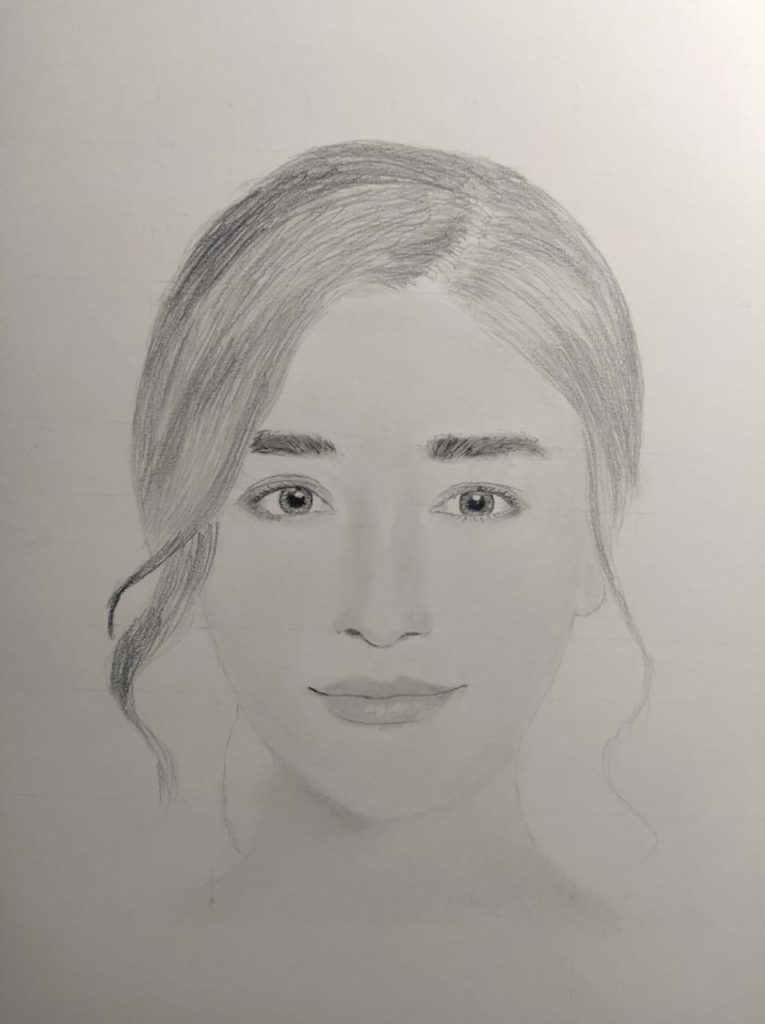
Step 9- Shade the face
Now do the shading of the face. Use a very light pencil. Do not put toomuch pressure on the pencil.
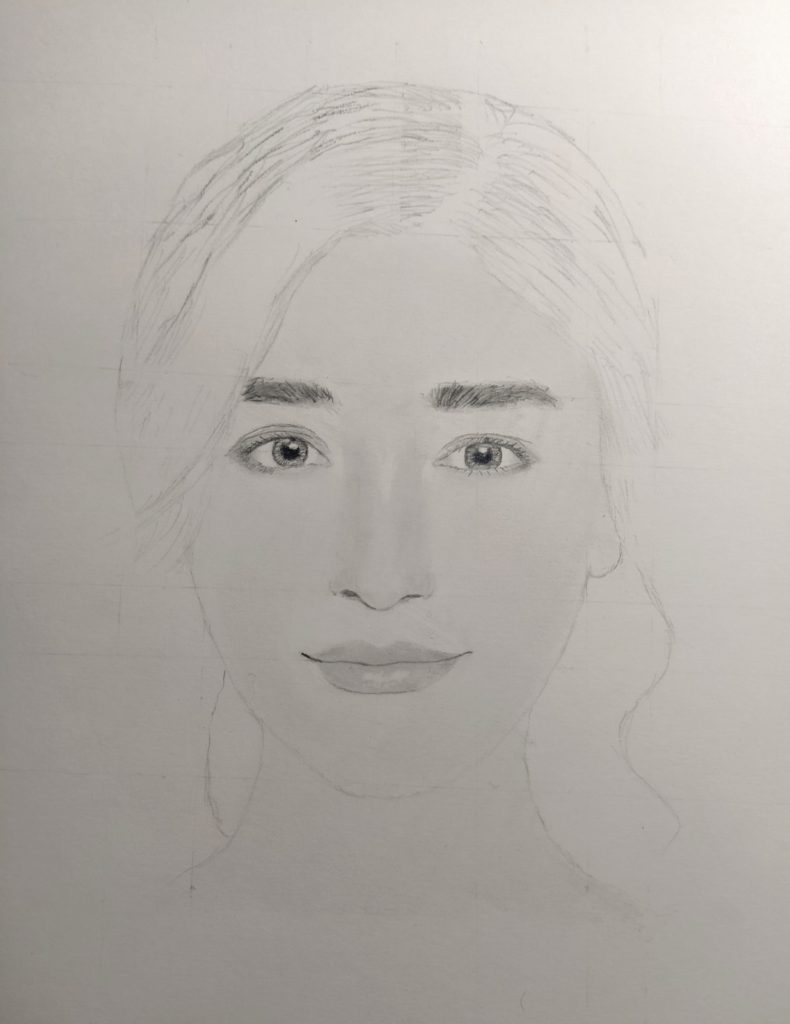
Step 10- Start drawing hair
Now the shading part is finished you can start drawing hair. This is the major part of your drawing it can make your drawing look better or worse. So draw hair carefully.

Step 11- Add more layer of hair
Draw hair layer by layer. Do not use direct dark pencil otherwise it makes your drawing looks unrealistic.
Step 12- Add final layer of hair
Now add the final layer of hair andyour drawing is almost complete.
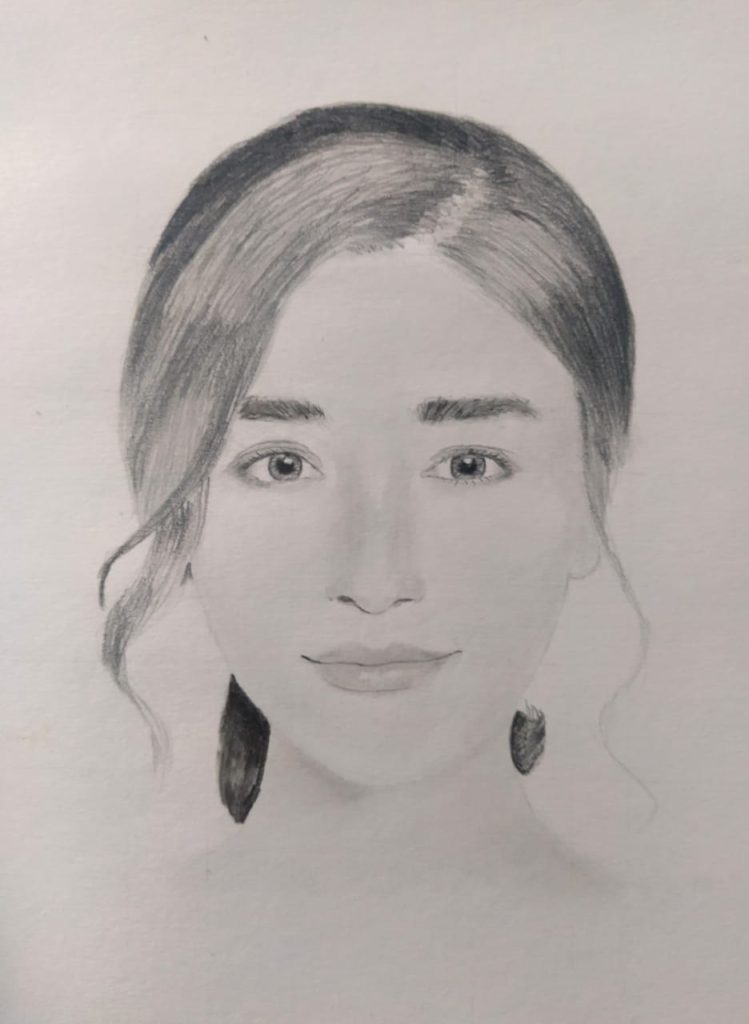
Step 13- Final touchups
Now make some final touchups your drawing and your drawing is ready to popup.
So is a tutorial on how to draw a portrait from a photo using a grid. You can easily draw portrait by using this method and impress your friends by showing them your skills. You can also gift them a sketch. I hope this tutorial will help you.
If you like this article then share it with your friends also. If you have any question related to this article then ask me in the comment section down below.
Thank you

I want to learn sketching. I was looking for the best place to learn. I found your article and I was surprissed by seeing that I got the best place to learn. Great work.
Website: https://familiesportrait.de/products/portrait-zeichnen-lassen