Hair are one of the most beautiful part of our body. It give us a different look from another. hair seems easy to draw but it is very difficult to make hair drawing because we can’t draw it simply in the form of lines. You have to use differnt techniques to draw. I use different variety of pencil from sharpend to dull, light and dark. There are many more things to do like shading, blending etc. So in this article i will show you how to draw hair easily.
Hi, my name is Ravi Gundal and am an self taught artist. There are many ways to draw hair but this is my method that use to drawing hair. I hope you like it
So in this article I will draw two different types of hair :
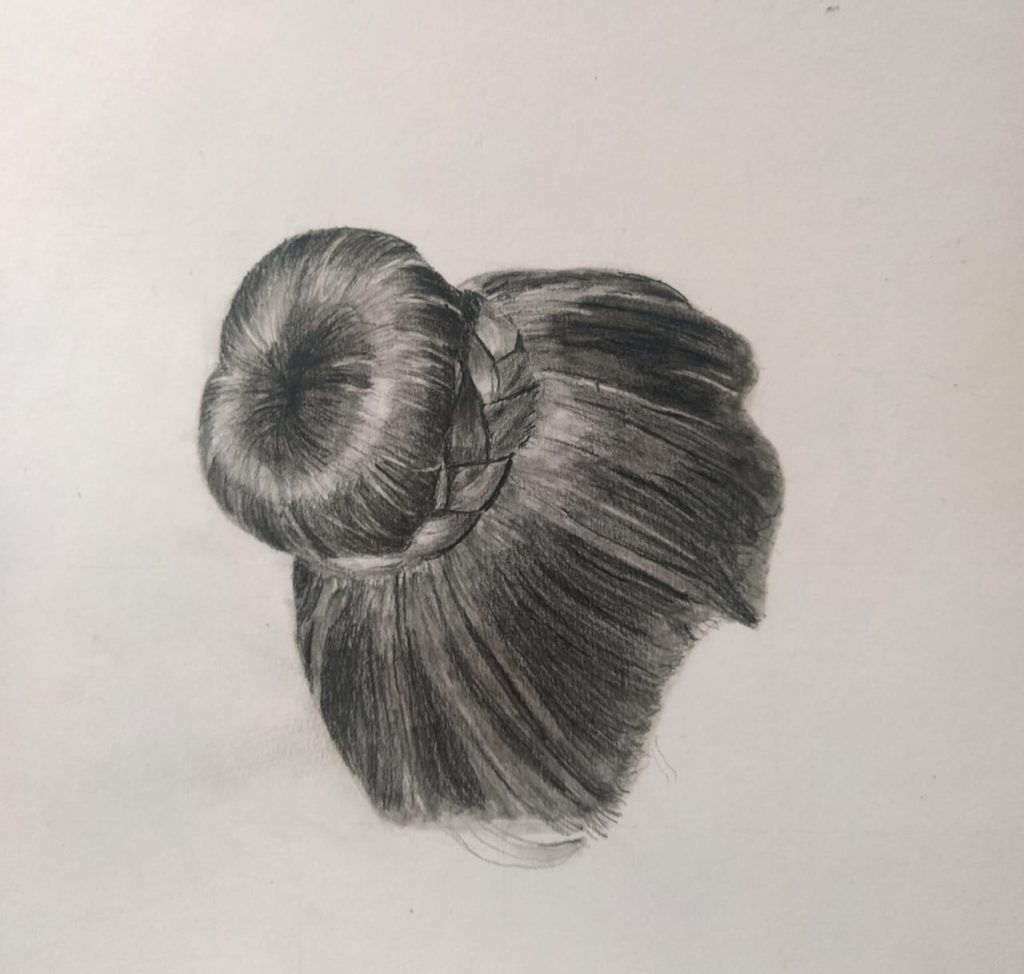
1. Hair Bun
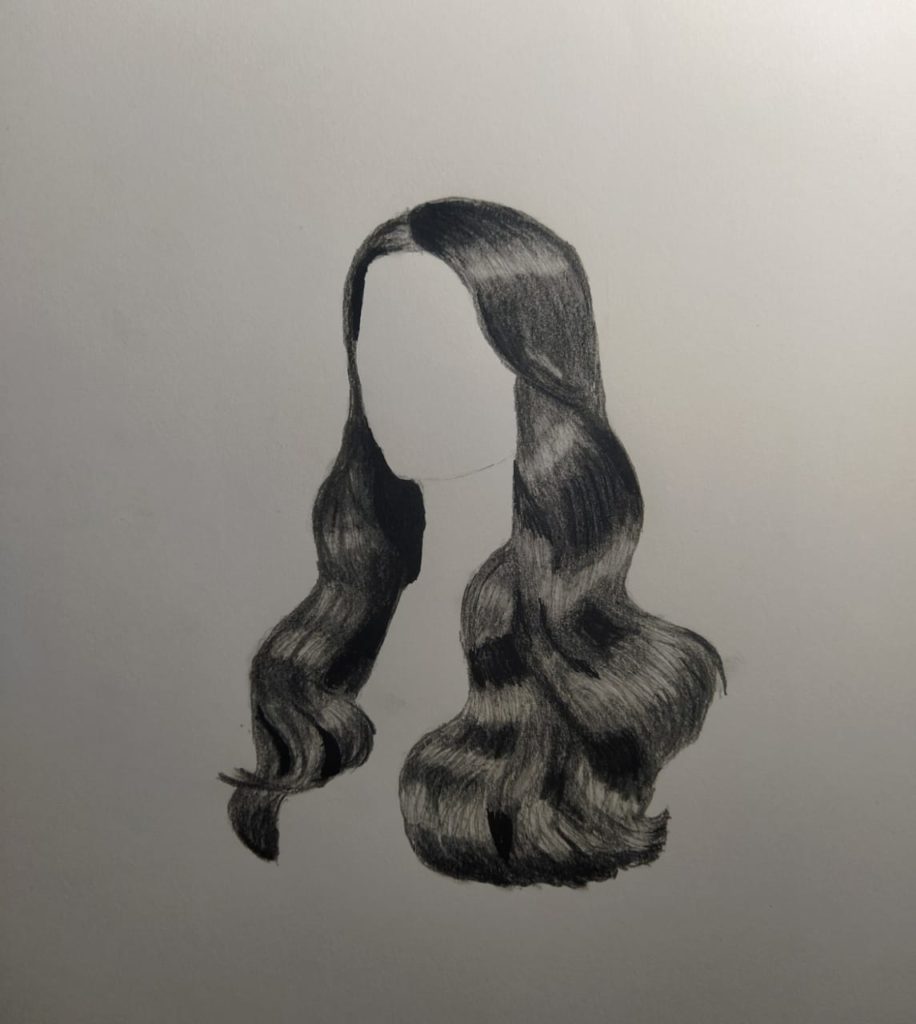
2. Weavy Hair
But before starting there are some tools you need
- Drawing Paper
- Kneadable erase
- Pencil of different shades
- Kneadable eraser
- Flat Surface to draw
Here are the following steps to draw our drawing
1. Hair Bun
First of all we are going to draw hair bun. I am using a refference image for this. You should also use a good quality refference for drawing realistic hair.
First of all you have to draw the perefect out line for the hair. You can use grid method to draw accurate outline
Now we start the step by step process of drawing hair :
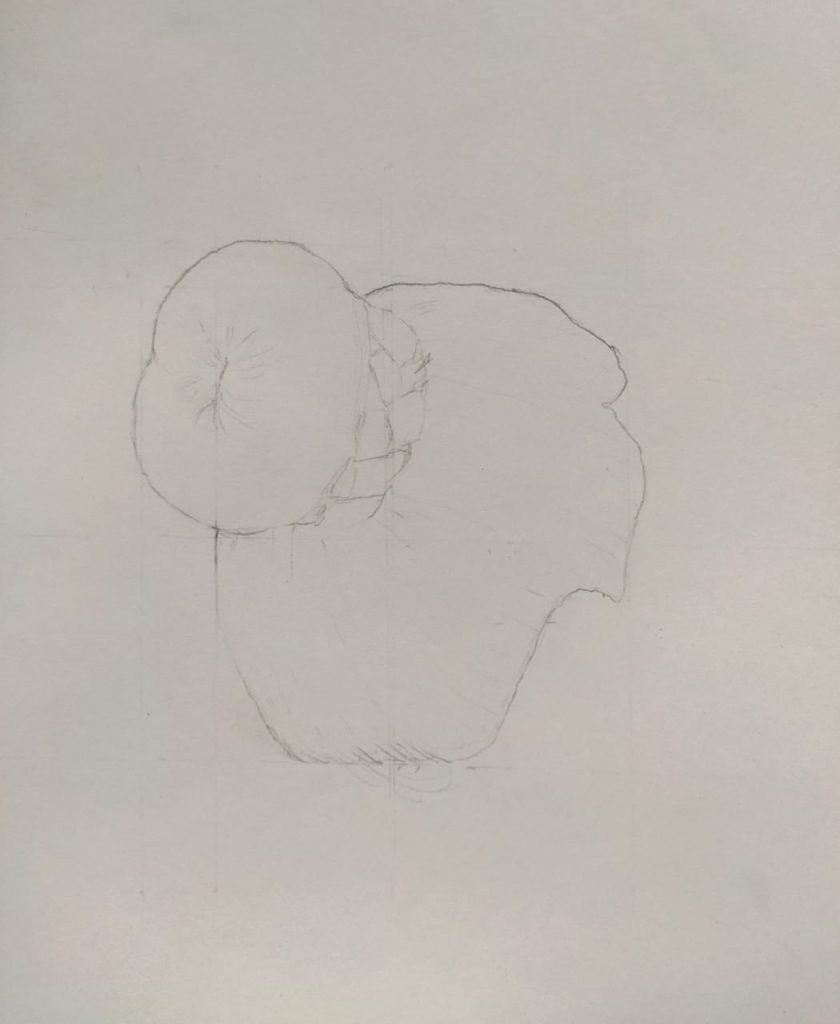
Step 1 : Draw the outline
First of all you have to draw the outline line for the hair drawing. There are many method to draw outline like observation, grid method. But I have used here grid method to draw perfect outline. But you can use any method to draw outline for your hair drawing.
Step 2 : Shade with light pencil
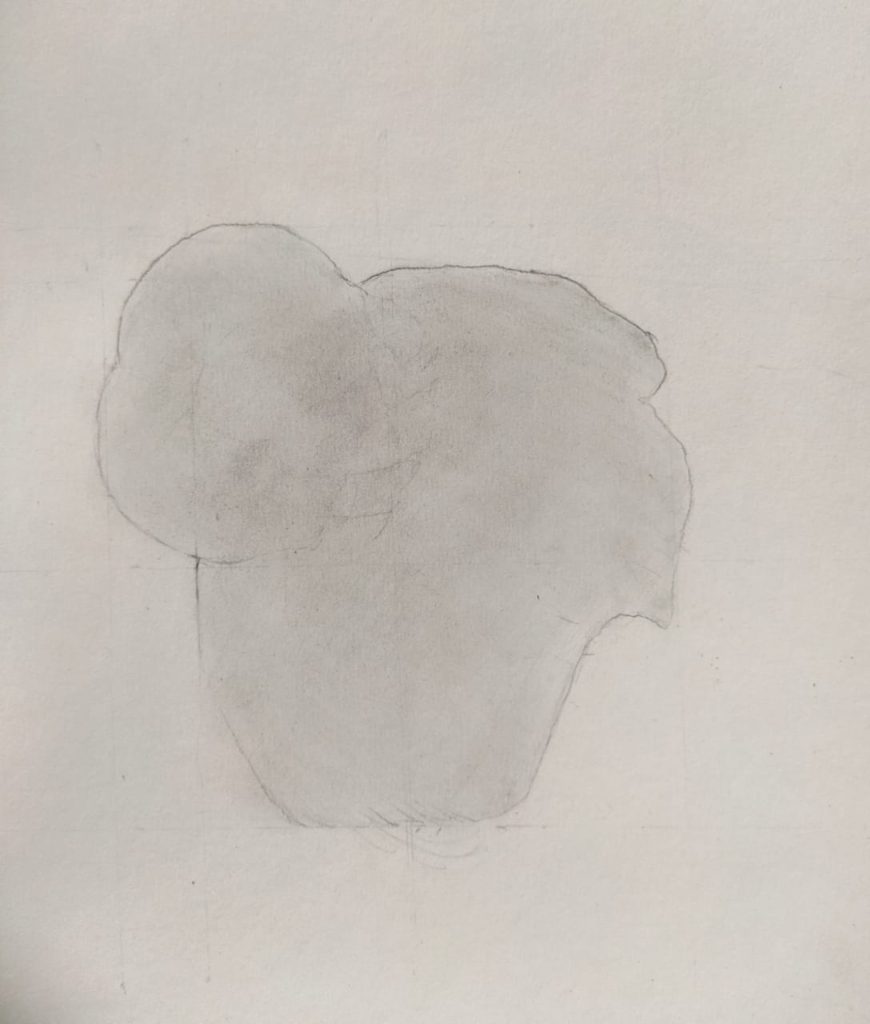
Now shade the whole area with a light pencil. I am using here B pencil. You can use according to your need B or 2B. I always do some shading on paper with a light pencil before starting my drawing because there are some kind of texture on every paper. So I have to flattern the texture by adding a base layer.
Step 3 : Add more layer of shading
Now add the second layer of shading. This time, I am using 3B pencil.
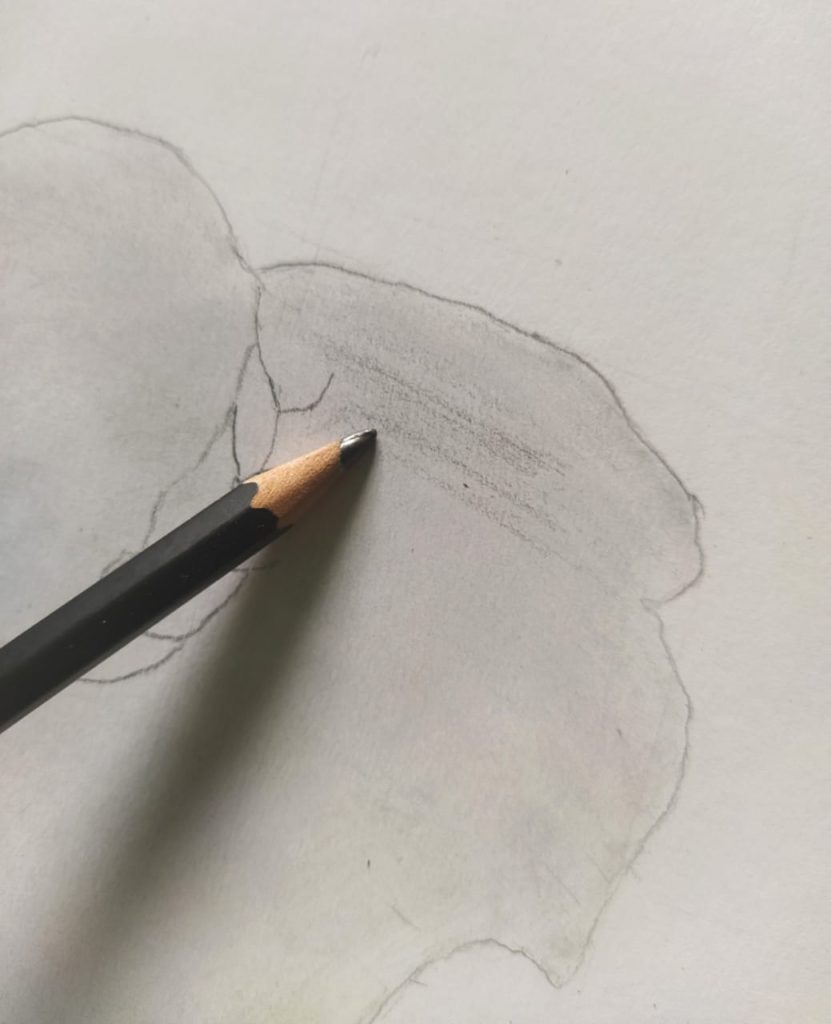
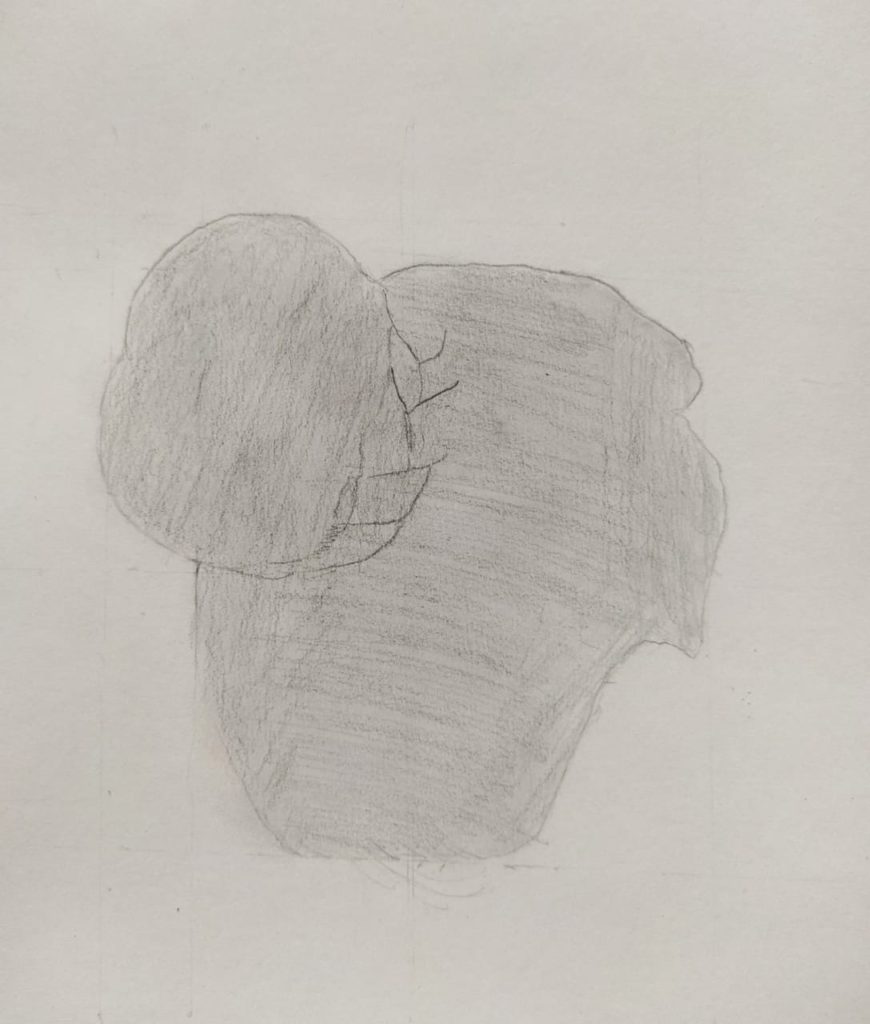
Now blend it with a paint brush or blending stump.
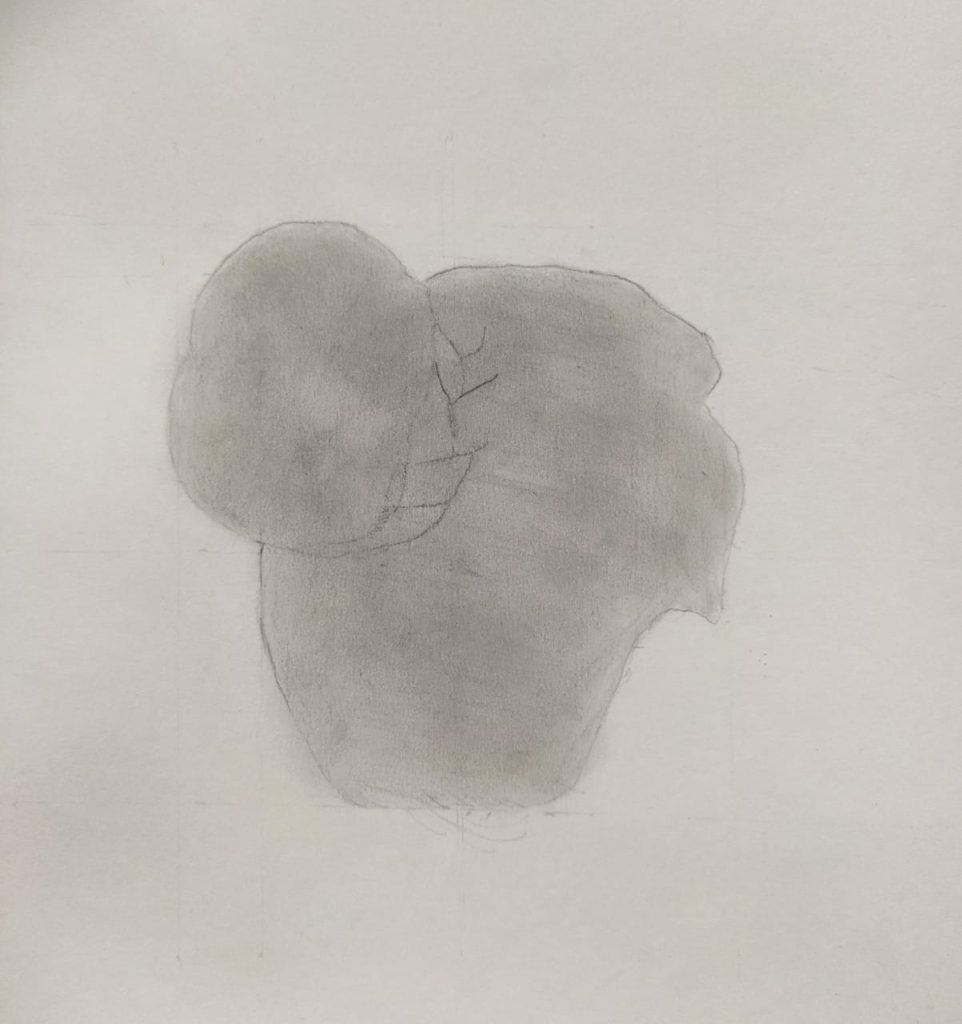
Step 4 : Draw the guideline for direction of hair
Now start drawing the guidline for direction of hair. Use a light pencil, observer your refference and draw the strokes in the direction of hair you want to draw.
In the figure below I am drawing the centre of the bun. I am drawing lines in the outward direction.
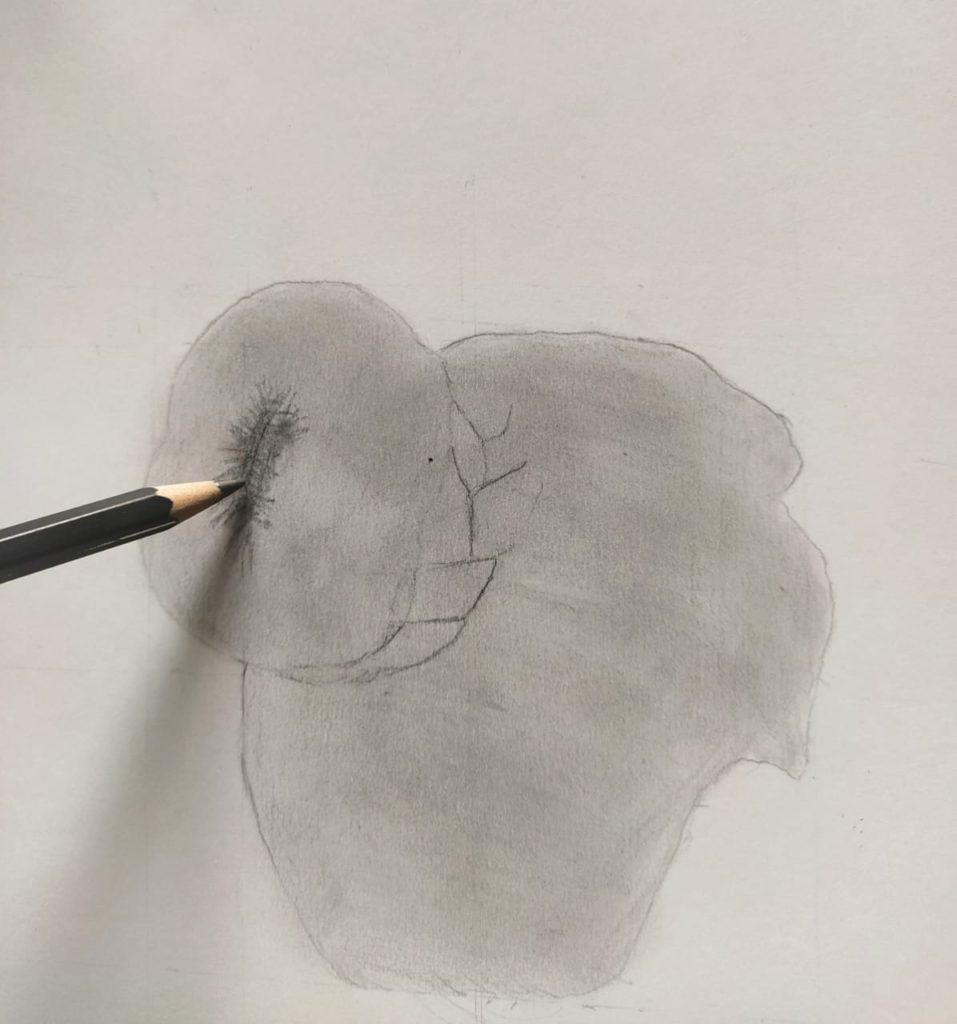
Now draw the guideline for the hair as shown in figure below.
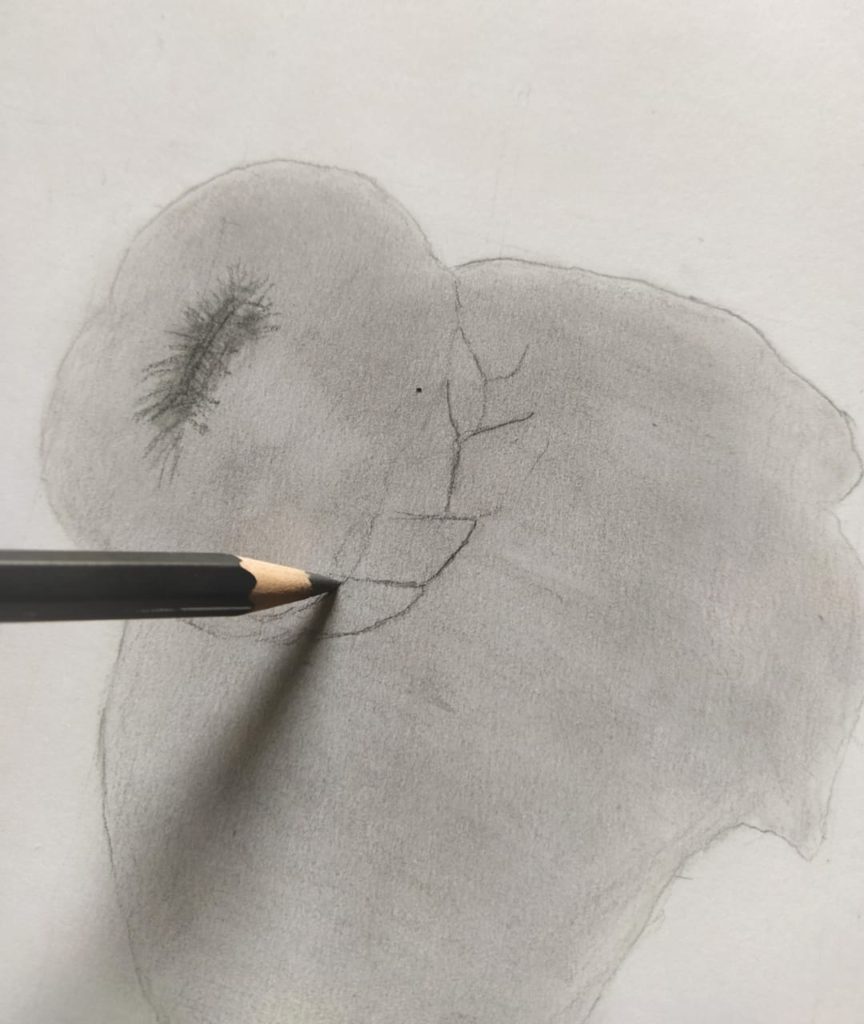
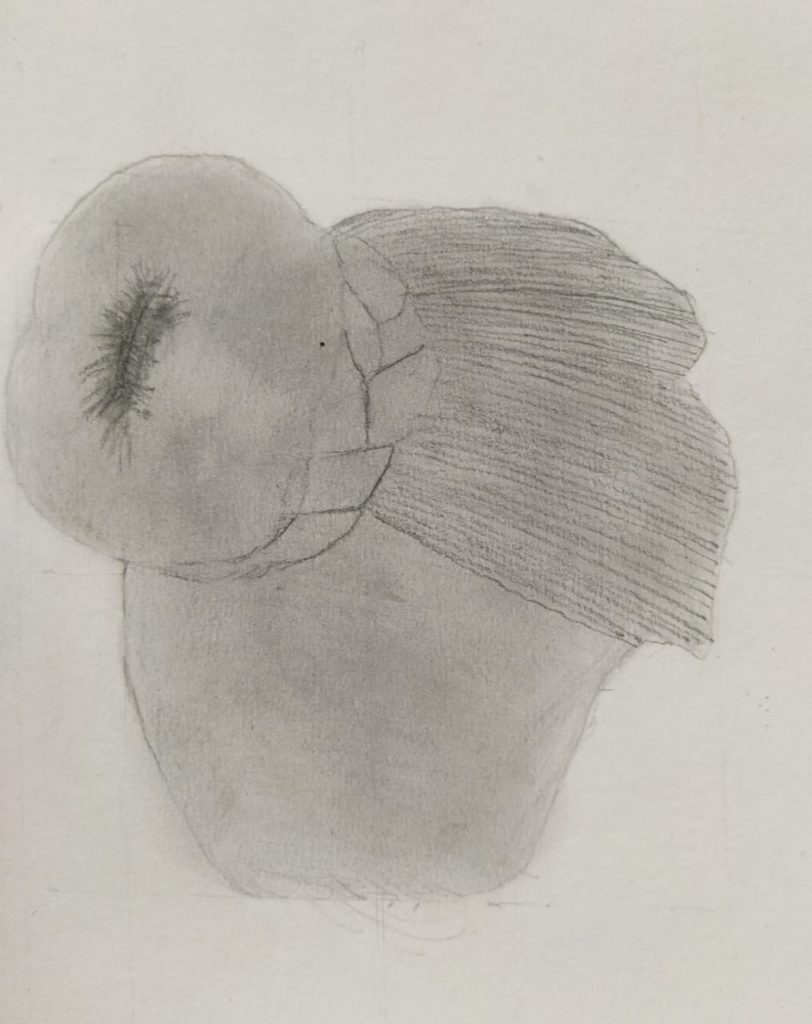
Now complete the guidelines as shown in fig. below.
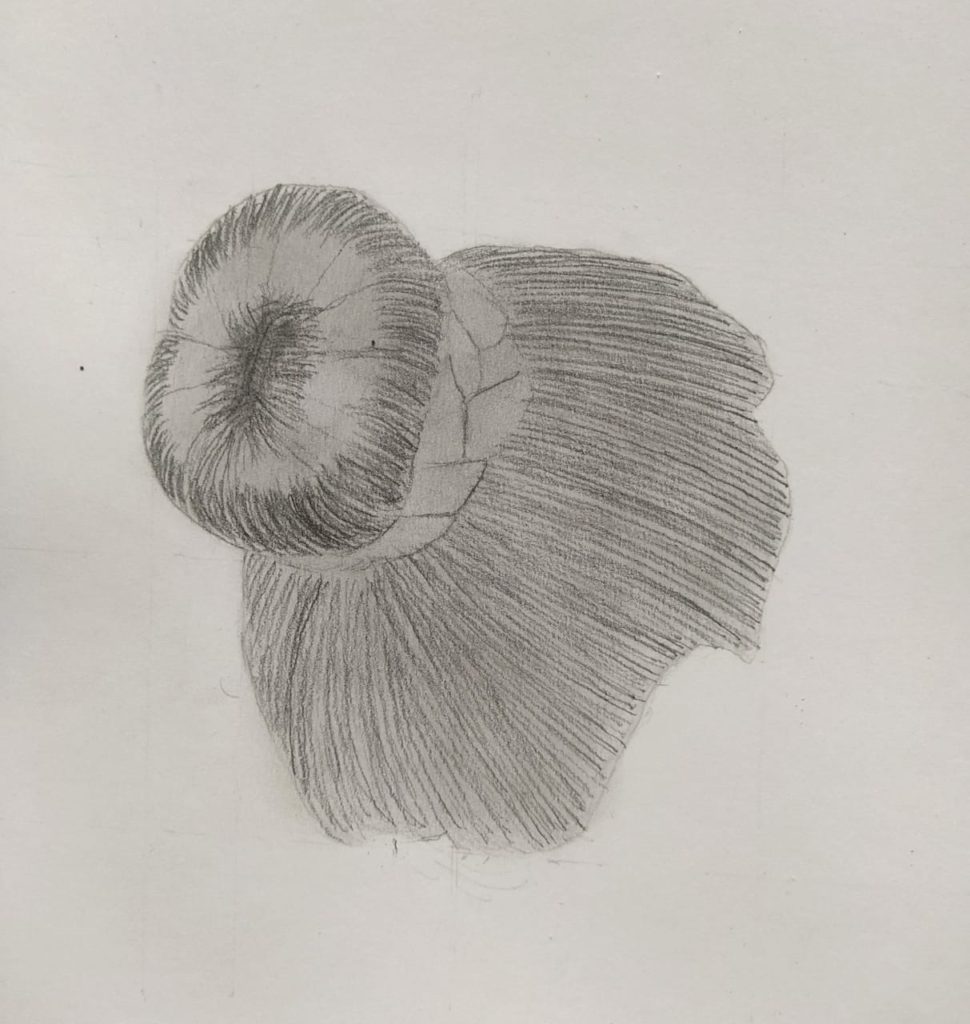
Step 5 : Draw the bun
Now use a dark pencil to apply the final layer. Observe your refference and start drawing bun. Draw pencil stroke in outward direction to which makes bun looks more natural.
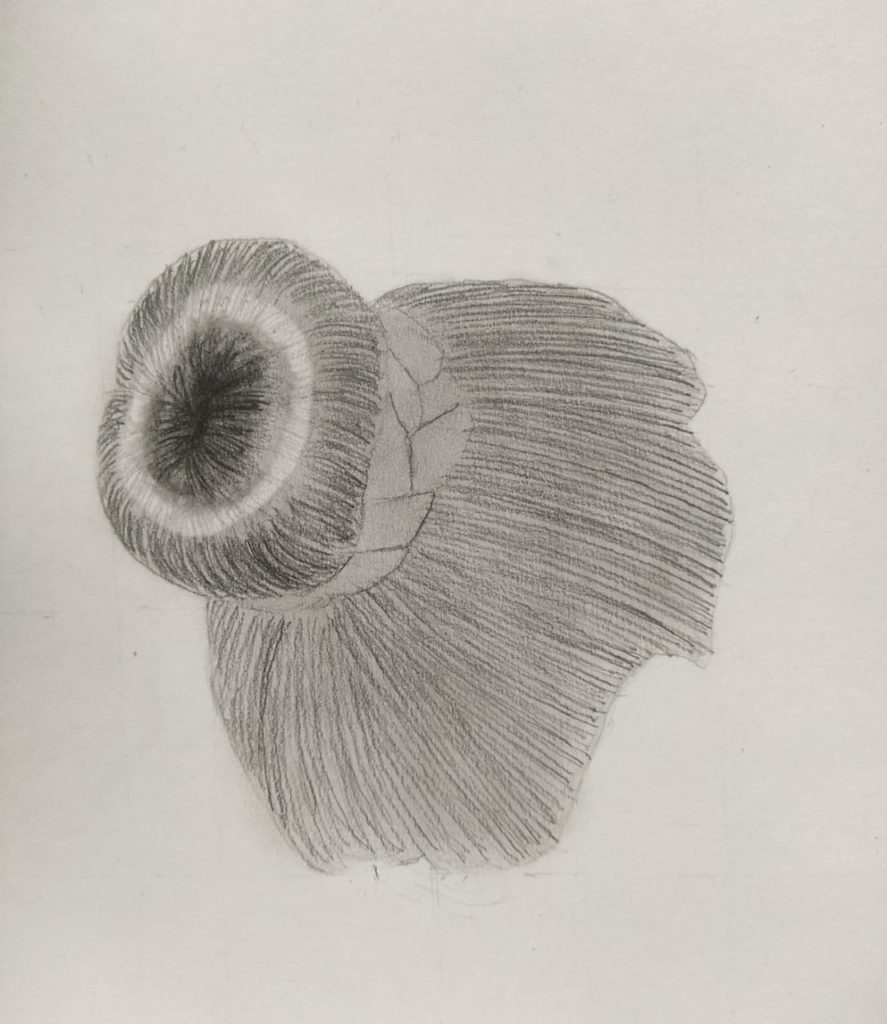
Complete the final shading of bun.
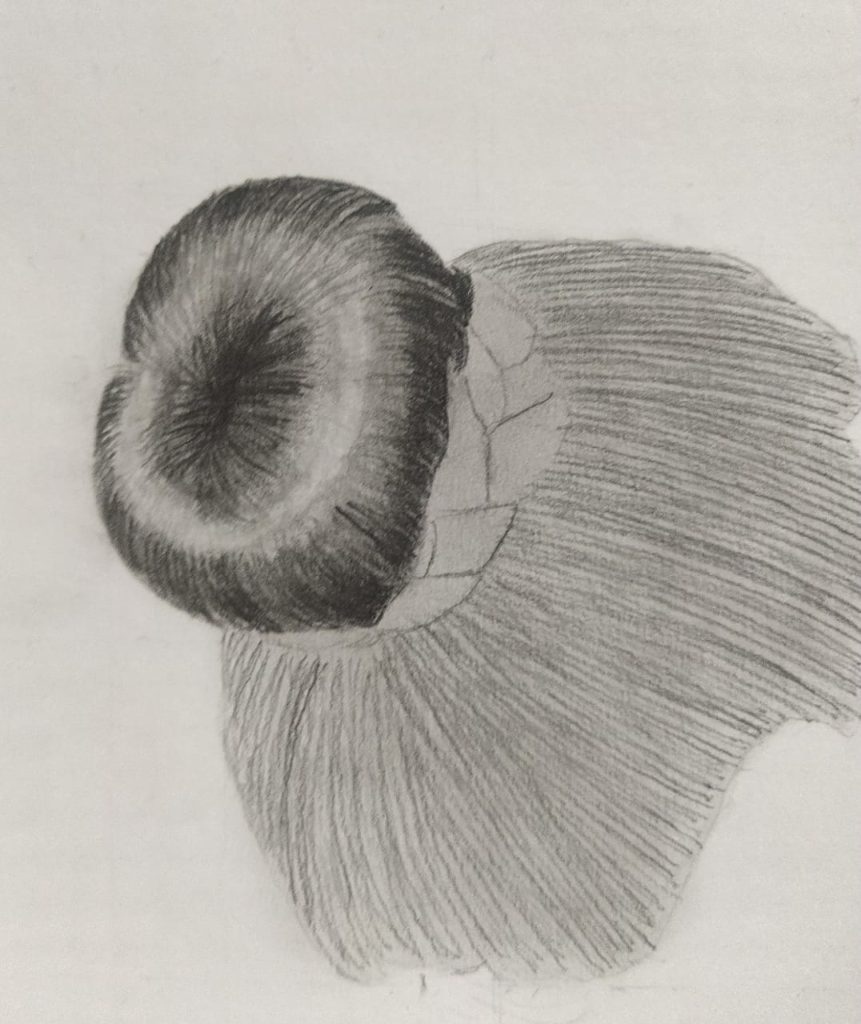
Step 6 : Add highlight
Use mono eraser to add highlight to the bun.
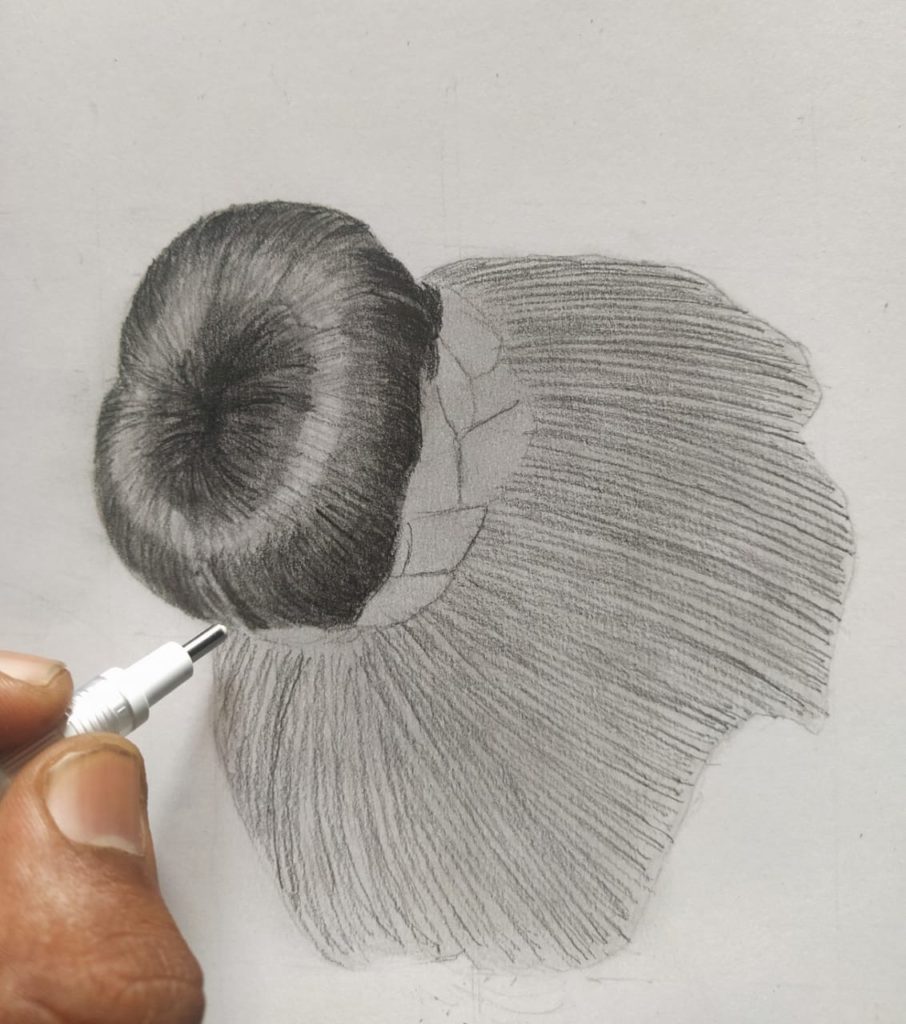
Step 7 : Add more detail to the bun
Now draw the lower portion of the bun
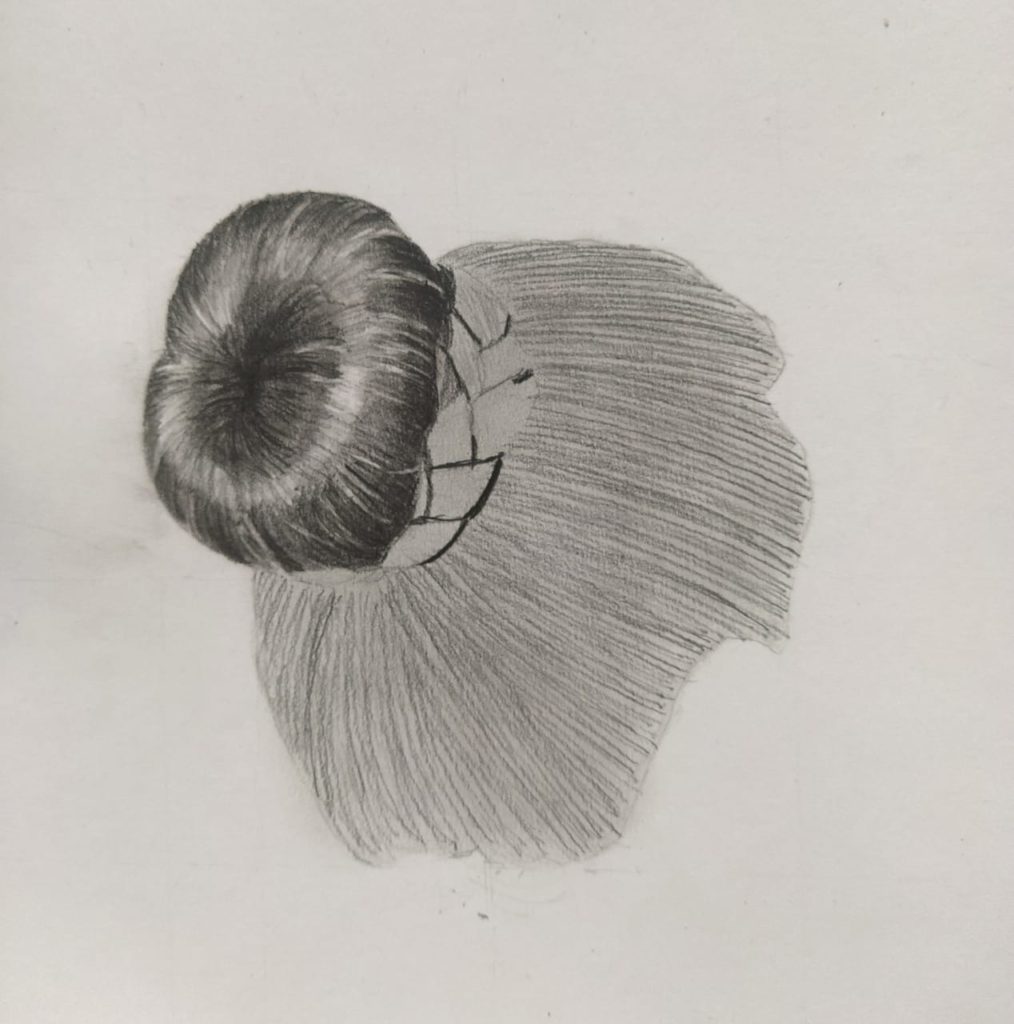
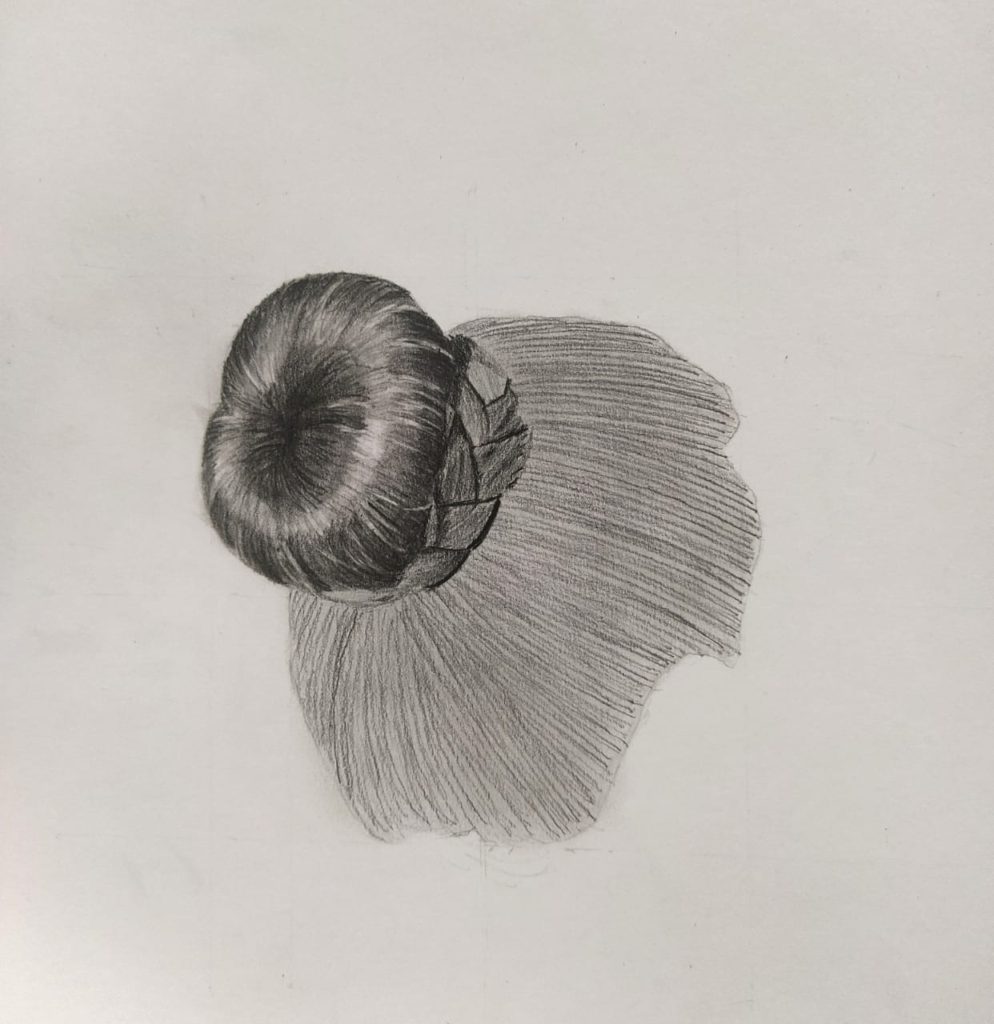
Step 8 : Final shading to final part
Now the bun has completed, work on the final part. Start drawing remaing hair. First shade withe lighter pencil then blend then use darker one.
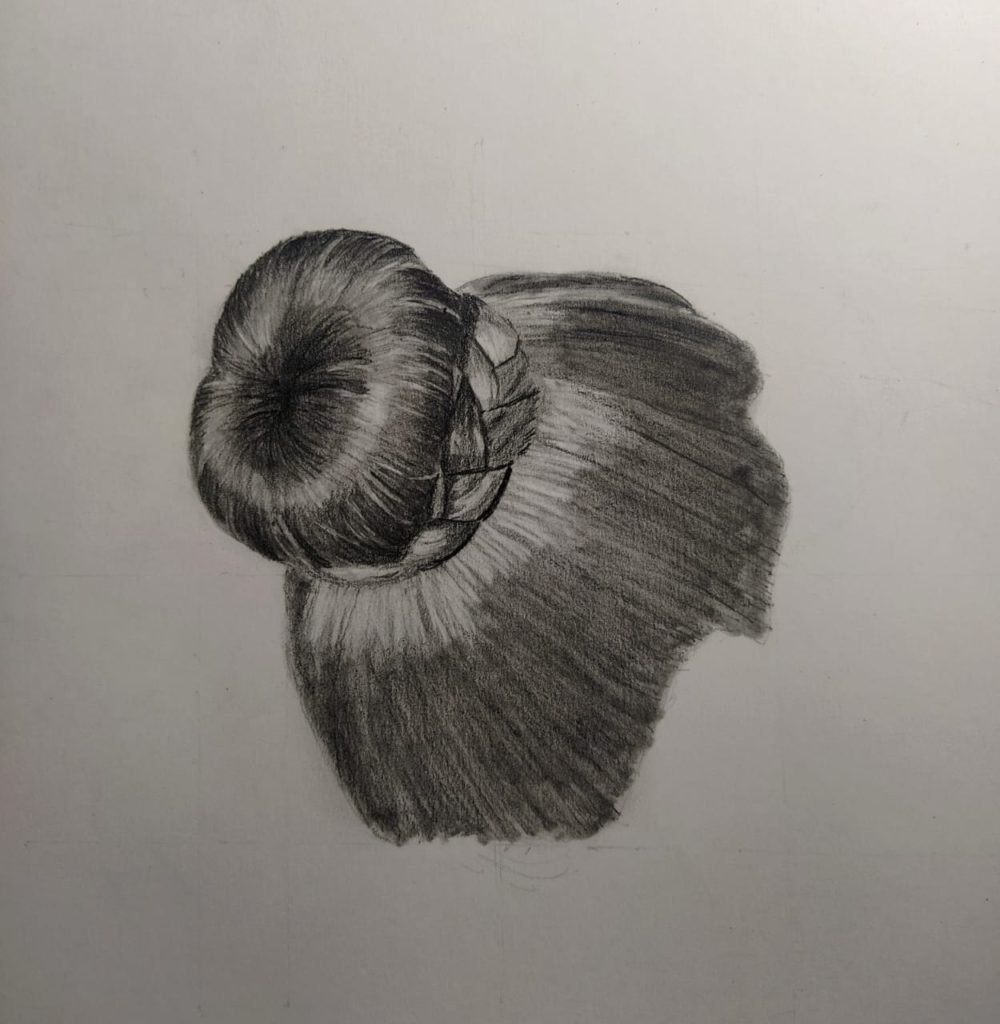
Use mono zero eraser to add highlight in the hair. Mono eraser is a great tool for adding highlight. It is also useful in microdetailing.
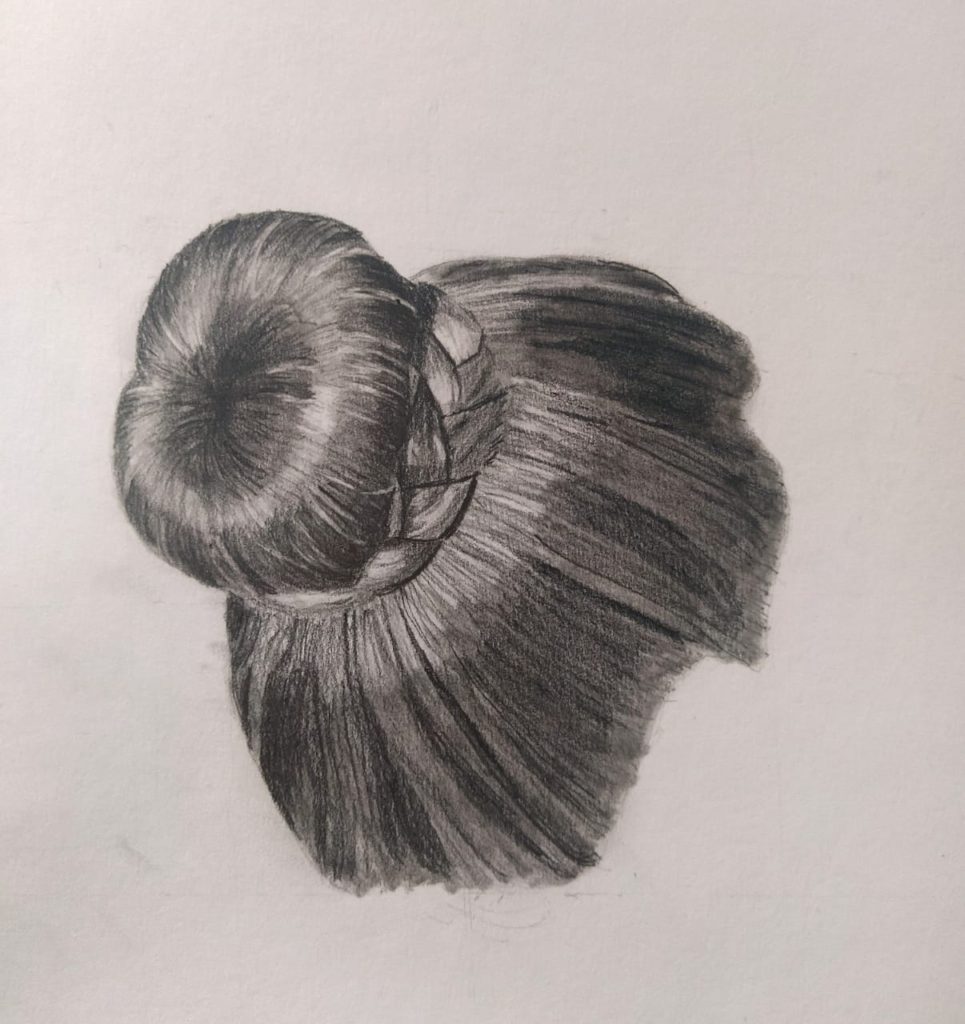
Step 9 : Final touchups
Now add some final touchups to your drawing and your drawing is ready.
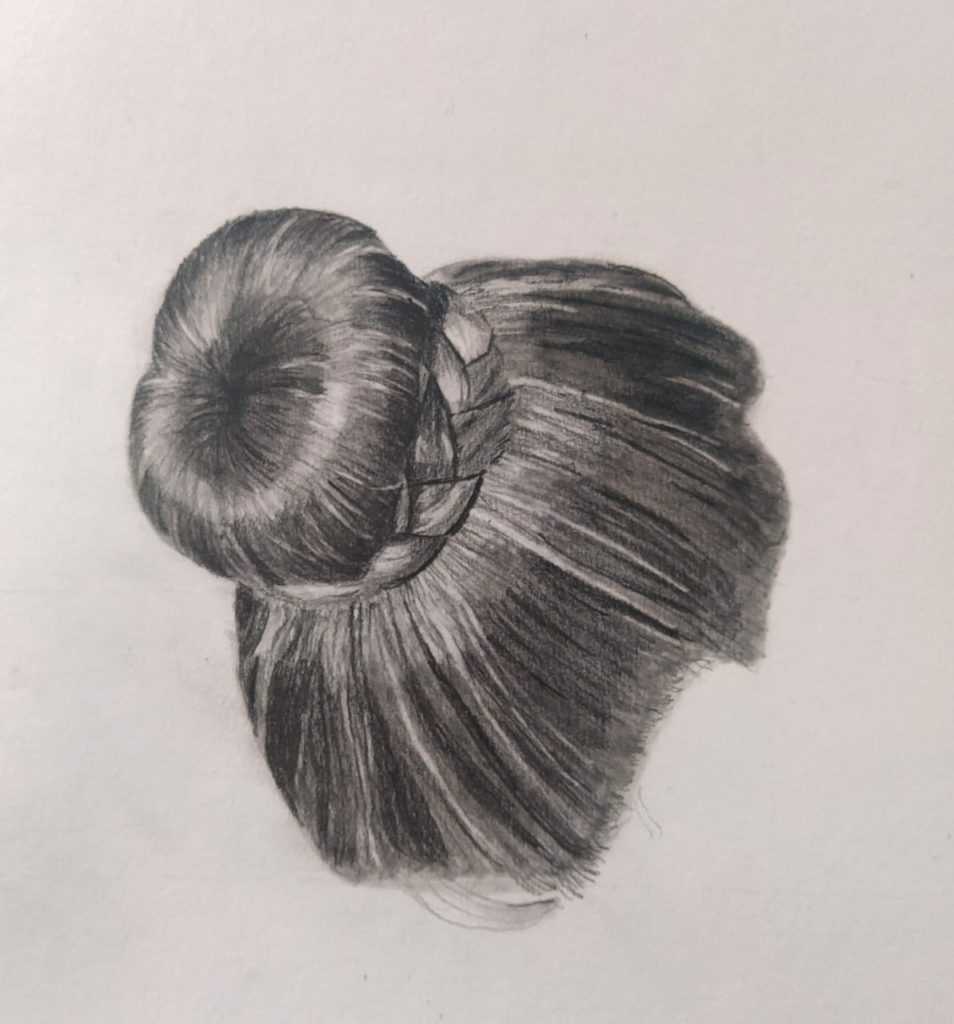
Our first drawing is ready, now we can start work on our next drawing, which is weavy hair.
2. Weavy Hair
Step 1- Draw the head shape
First of all you have to draw a headshape because we need a base to draw hair. So we have to draw the basic shape of head. Draw it with a light pencil because we have to erase the guidelines furtherafter.
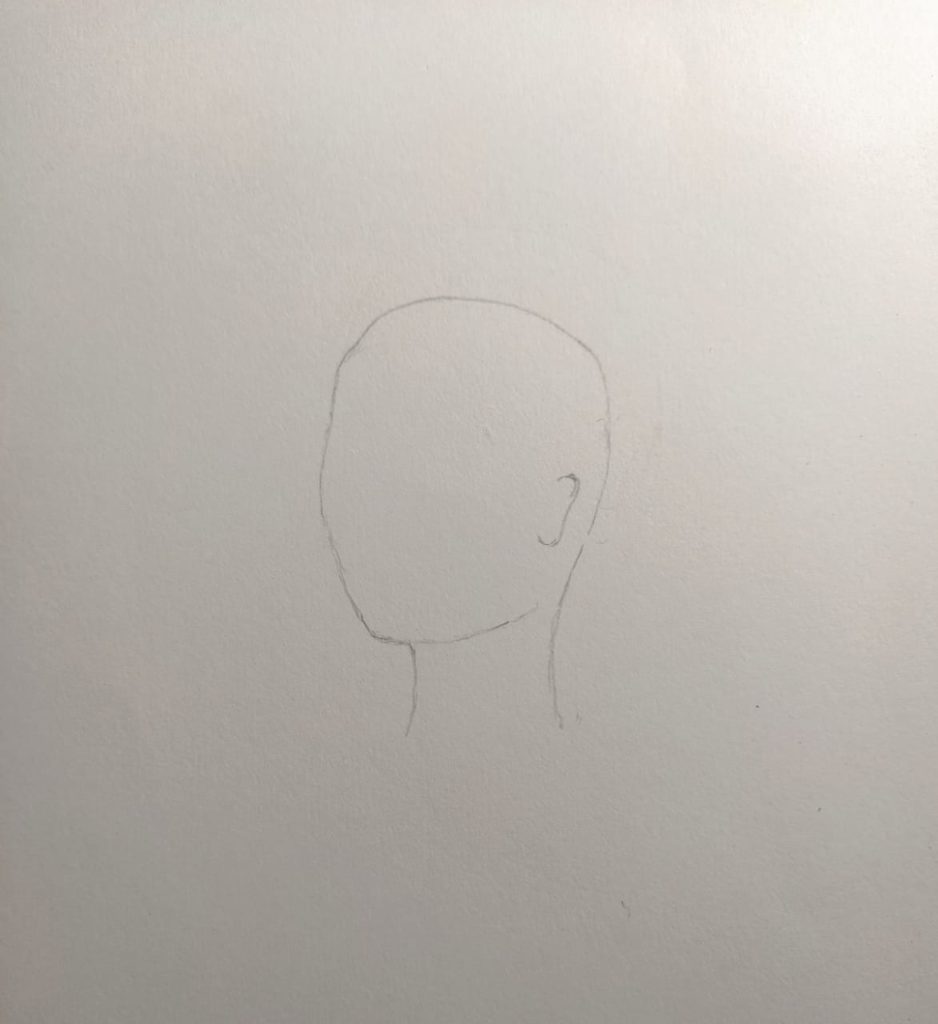
Step 2- Draw the outlines for hair
After drawing basic headshape we have to draw the outline for hair. I use a reffence image for my drawing and pickup all the outline from it.
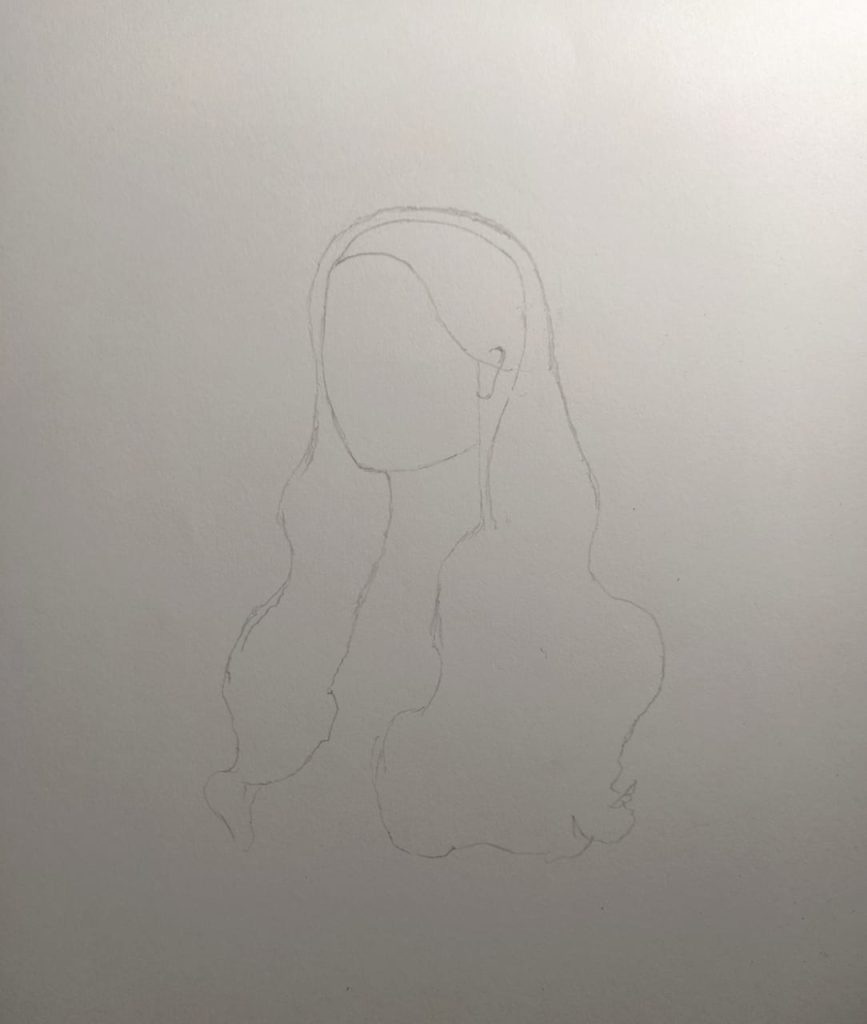
Step 3- Erase the unimportant guide lines of head shape
Now we have to erase the unwanted lines of the head because these a very messy look. So erase all the guide line that you do not need and draw more guide lines for the drawing.
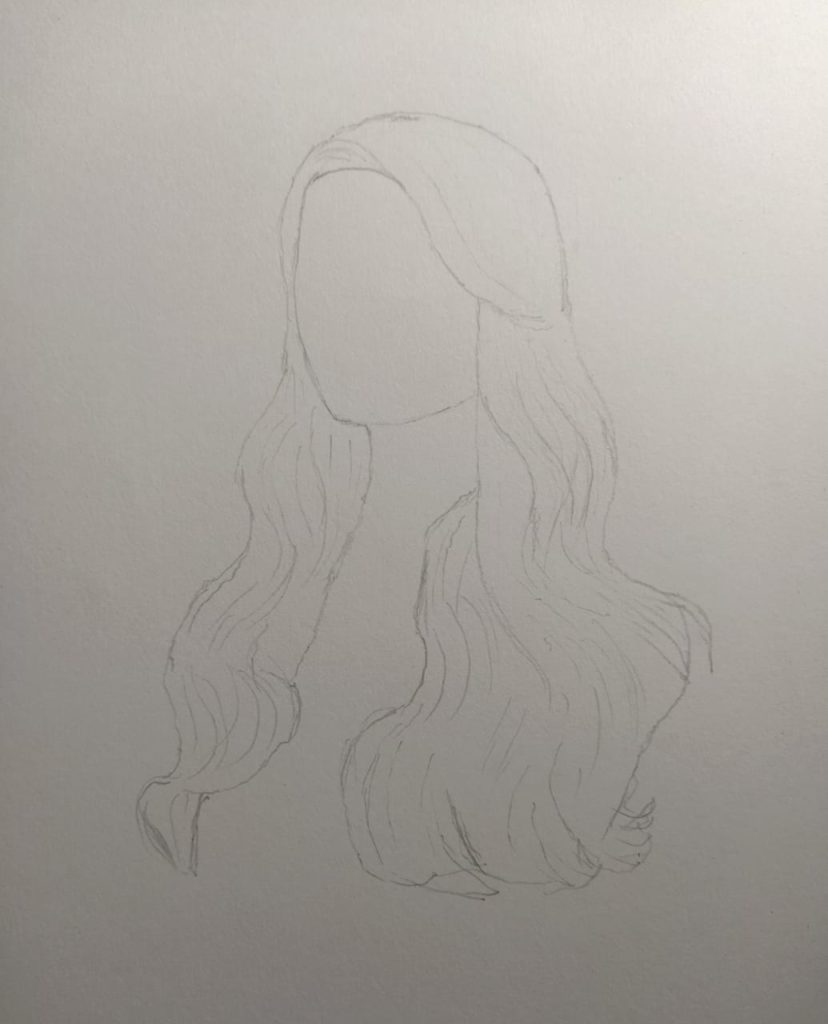
Step 4- draw the hair layer by layer
Draw it layer by layer. Do not use direct a dark pencil because it does not give a realistic look to hair. Add hair layer by layer to look more realistic
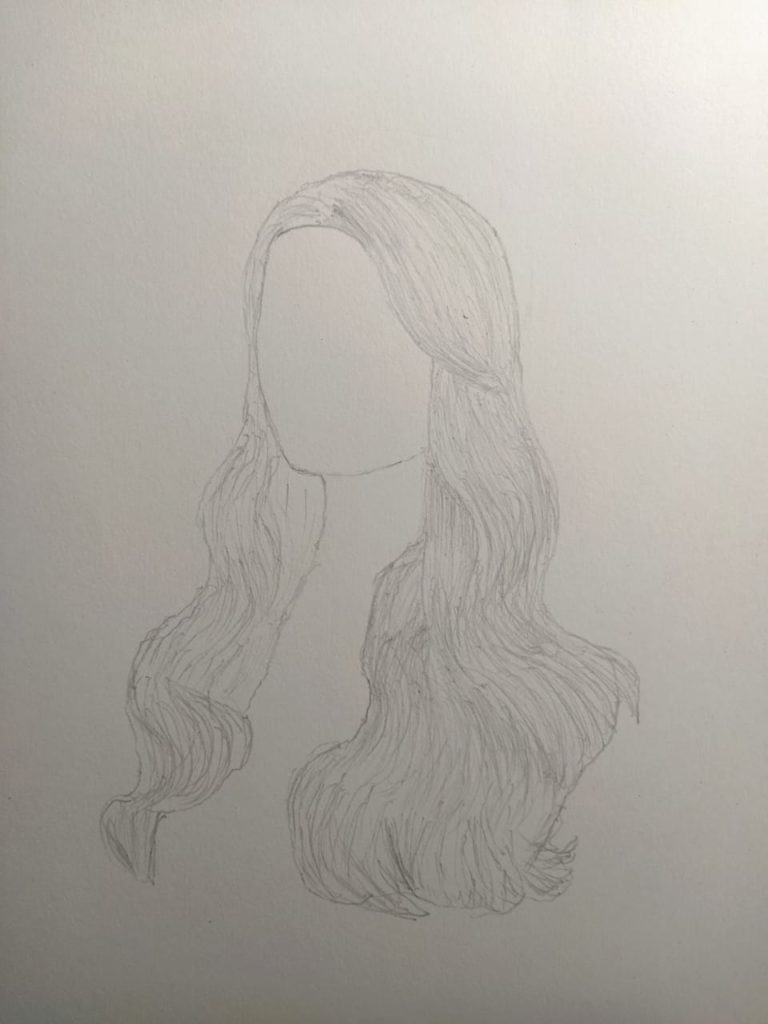
Step 5- Draw more layer
Draw second layer of hair with a little darker pencil and use kneadable eraser to highlight the area
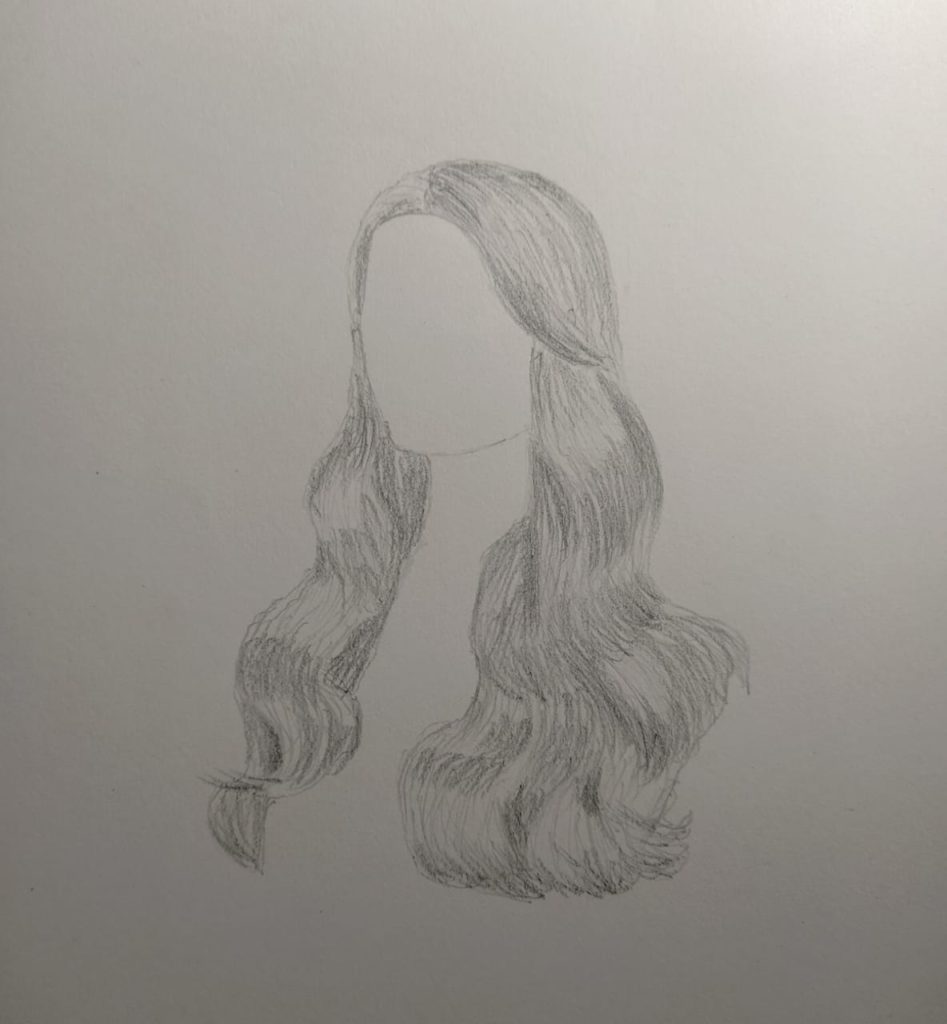
Step 6- Use darker pencil
Now apply third layer of hair with a more dark pencil. Draw every layer one by one. This gives hair more realistic look. you can use blending stumps to blend hair very well. But if have don’t have blending stumps then there are another tools you can use for blending in my article BLENDING TOOLS FOR DRAWING
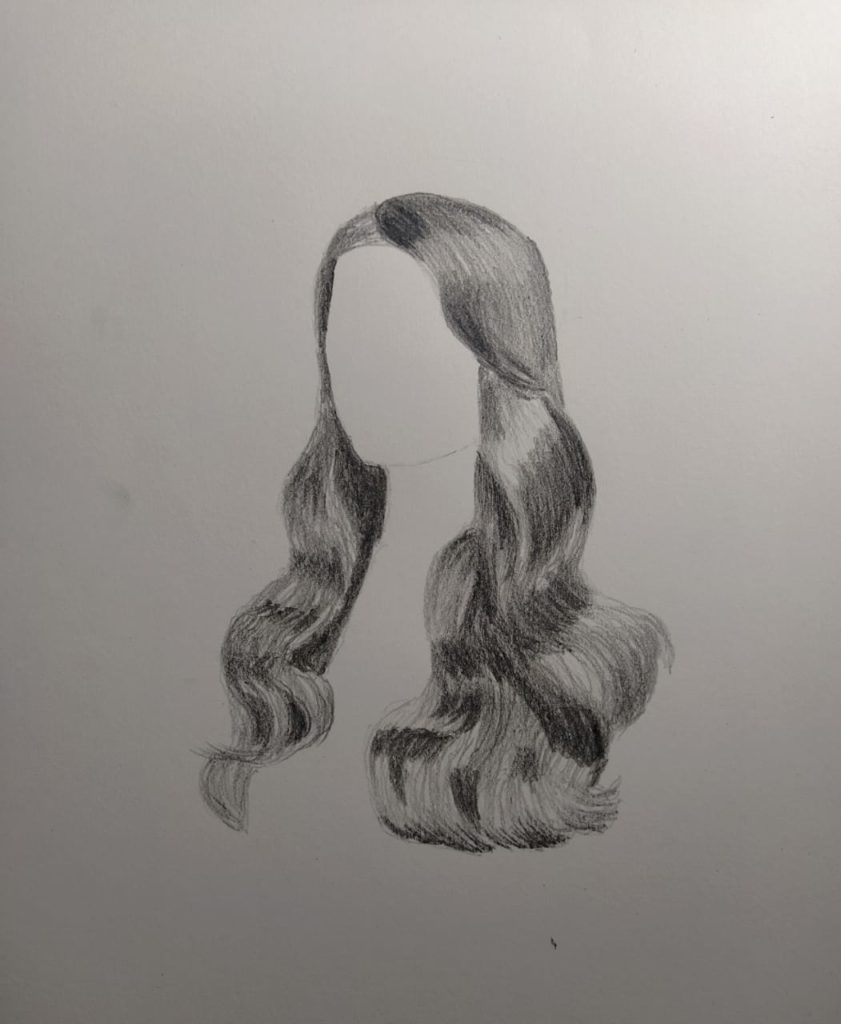
Step 7- Add more layer with darker pencil
Now use blending stumps to blend hair or you can use blending stumps with every layer of hair, it’s upon you. Use kneadable eraser to highlight the area you want or you can use mono eraser

Step 8- Add final touchups
Now add the final layer of hair with darker pencil and your drawing is ready to pop up

It is very hard to draw realistic hair in first or second attempt . but practice makes man perfect. Do a lot more practice to improve your art and believe me after some times you are able to perfectly.
READ MORE ARTILCE
this is tutorial on how to draw hair realistically. If you want to learn more then subscribe. If you have any queries then ask me in the comment section below. Thank you


I was reading through some of your posts on this site and I believe this internet site is rattling instructive!
Keep on posting.Leadership